 May 10, 2020
IOD Botanical Tutorial
Yesterday I posted a Facebook Live that really got my creative juices flowing. Carmen from Carmen’s Curiosity Shop in Colorado has the most amazing imagination and she is sure to come up with something gorgeous every time she adds a post to her facebook page! Watch the video here and then follow along with my take on this project.
I was at the shop waiting for people to pick up their orders and I thought why not create something beautiful. I gathered up my supplies and got to work. The whole project took me under two hours but I probably should have waited a little longer between the Saltwash layer, Flat Out Flat and the transfers.
I scrounged around in hubby’s workshop in the basement and found a scrap of 1/8″ plywood. It was the perfect size and a little warped and really not square, I thought it would be perfect for creating this piece. If you watched Carmen’s video you will know she uses any number of things from old book covers to old game boards, whatever is handy.
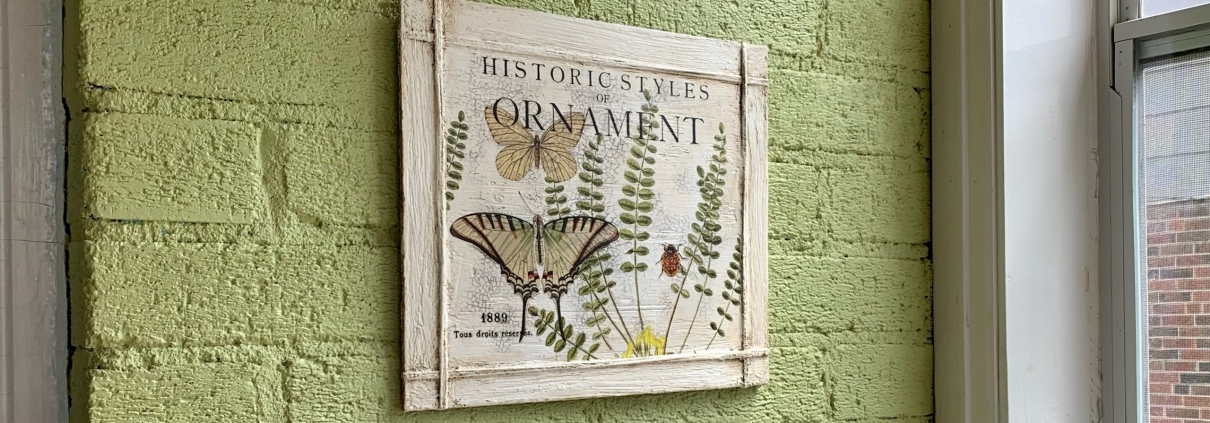
For this project I used leftover bits of IOD Transfers mostly from Entomology and Fronds and the text came from Label Ephemera, any bits of leftover transfers will work for this.
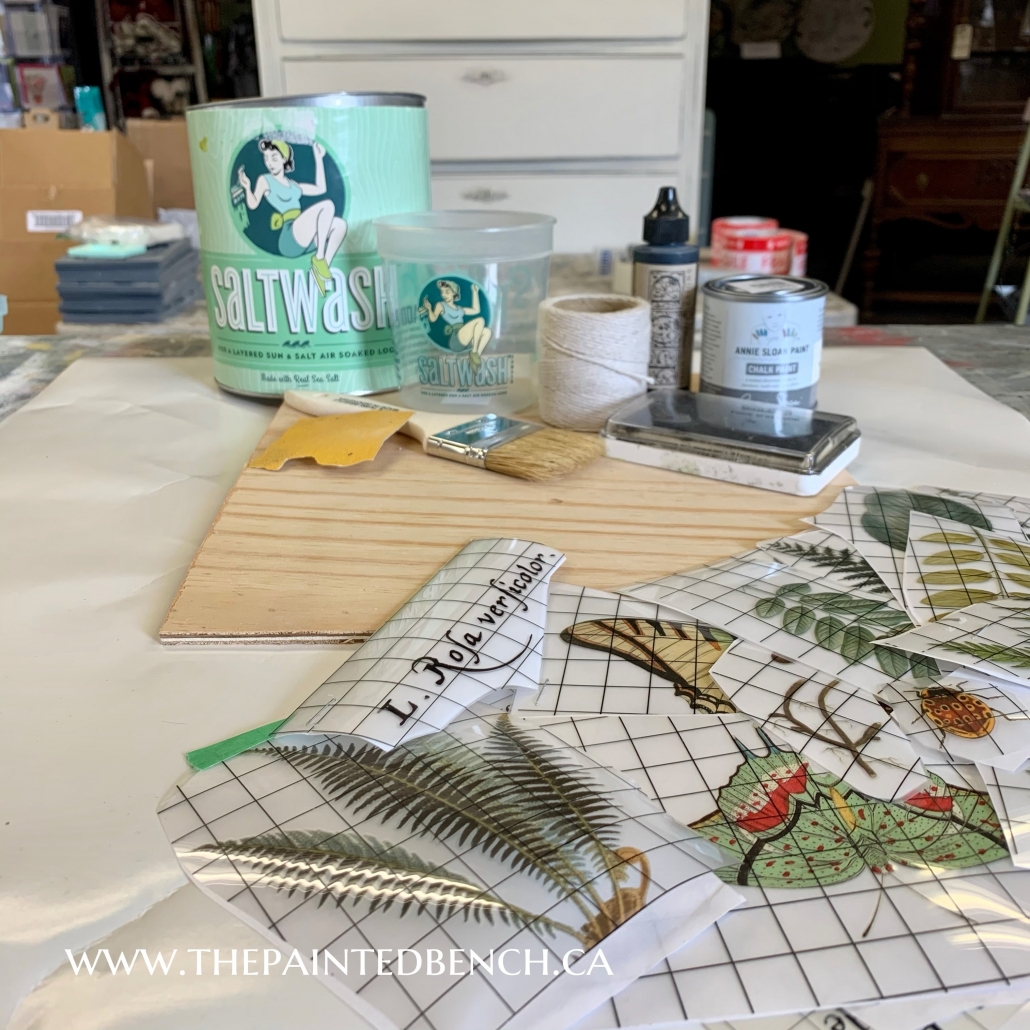
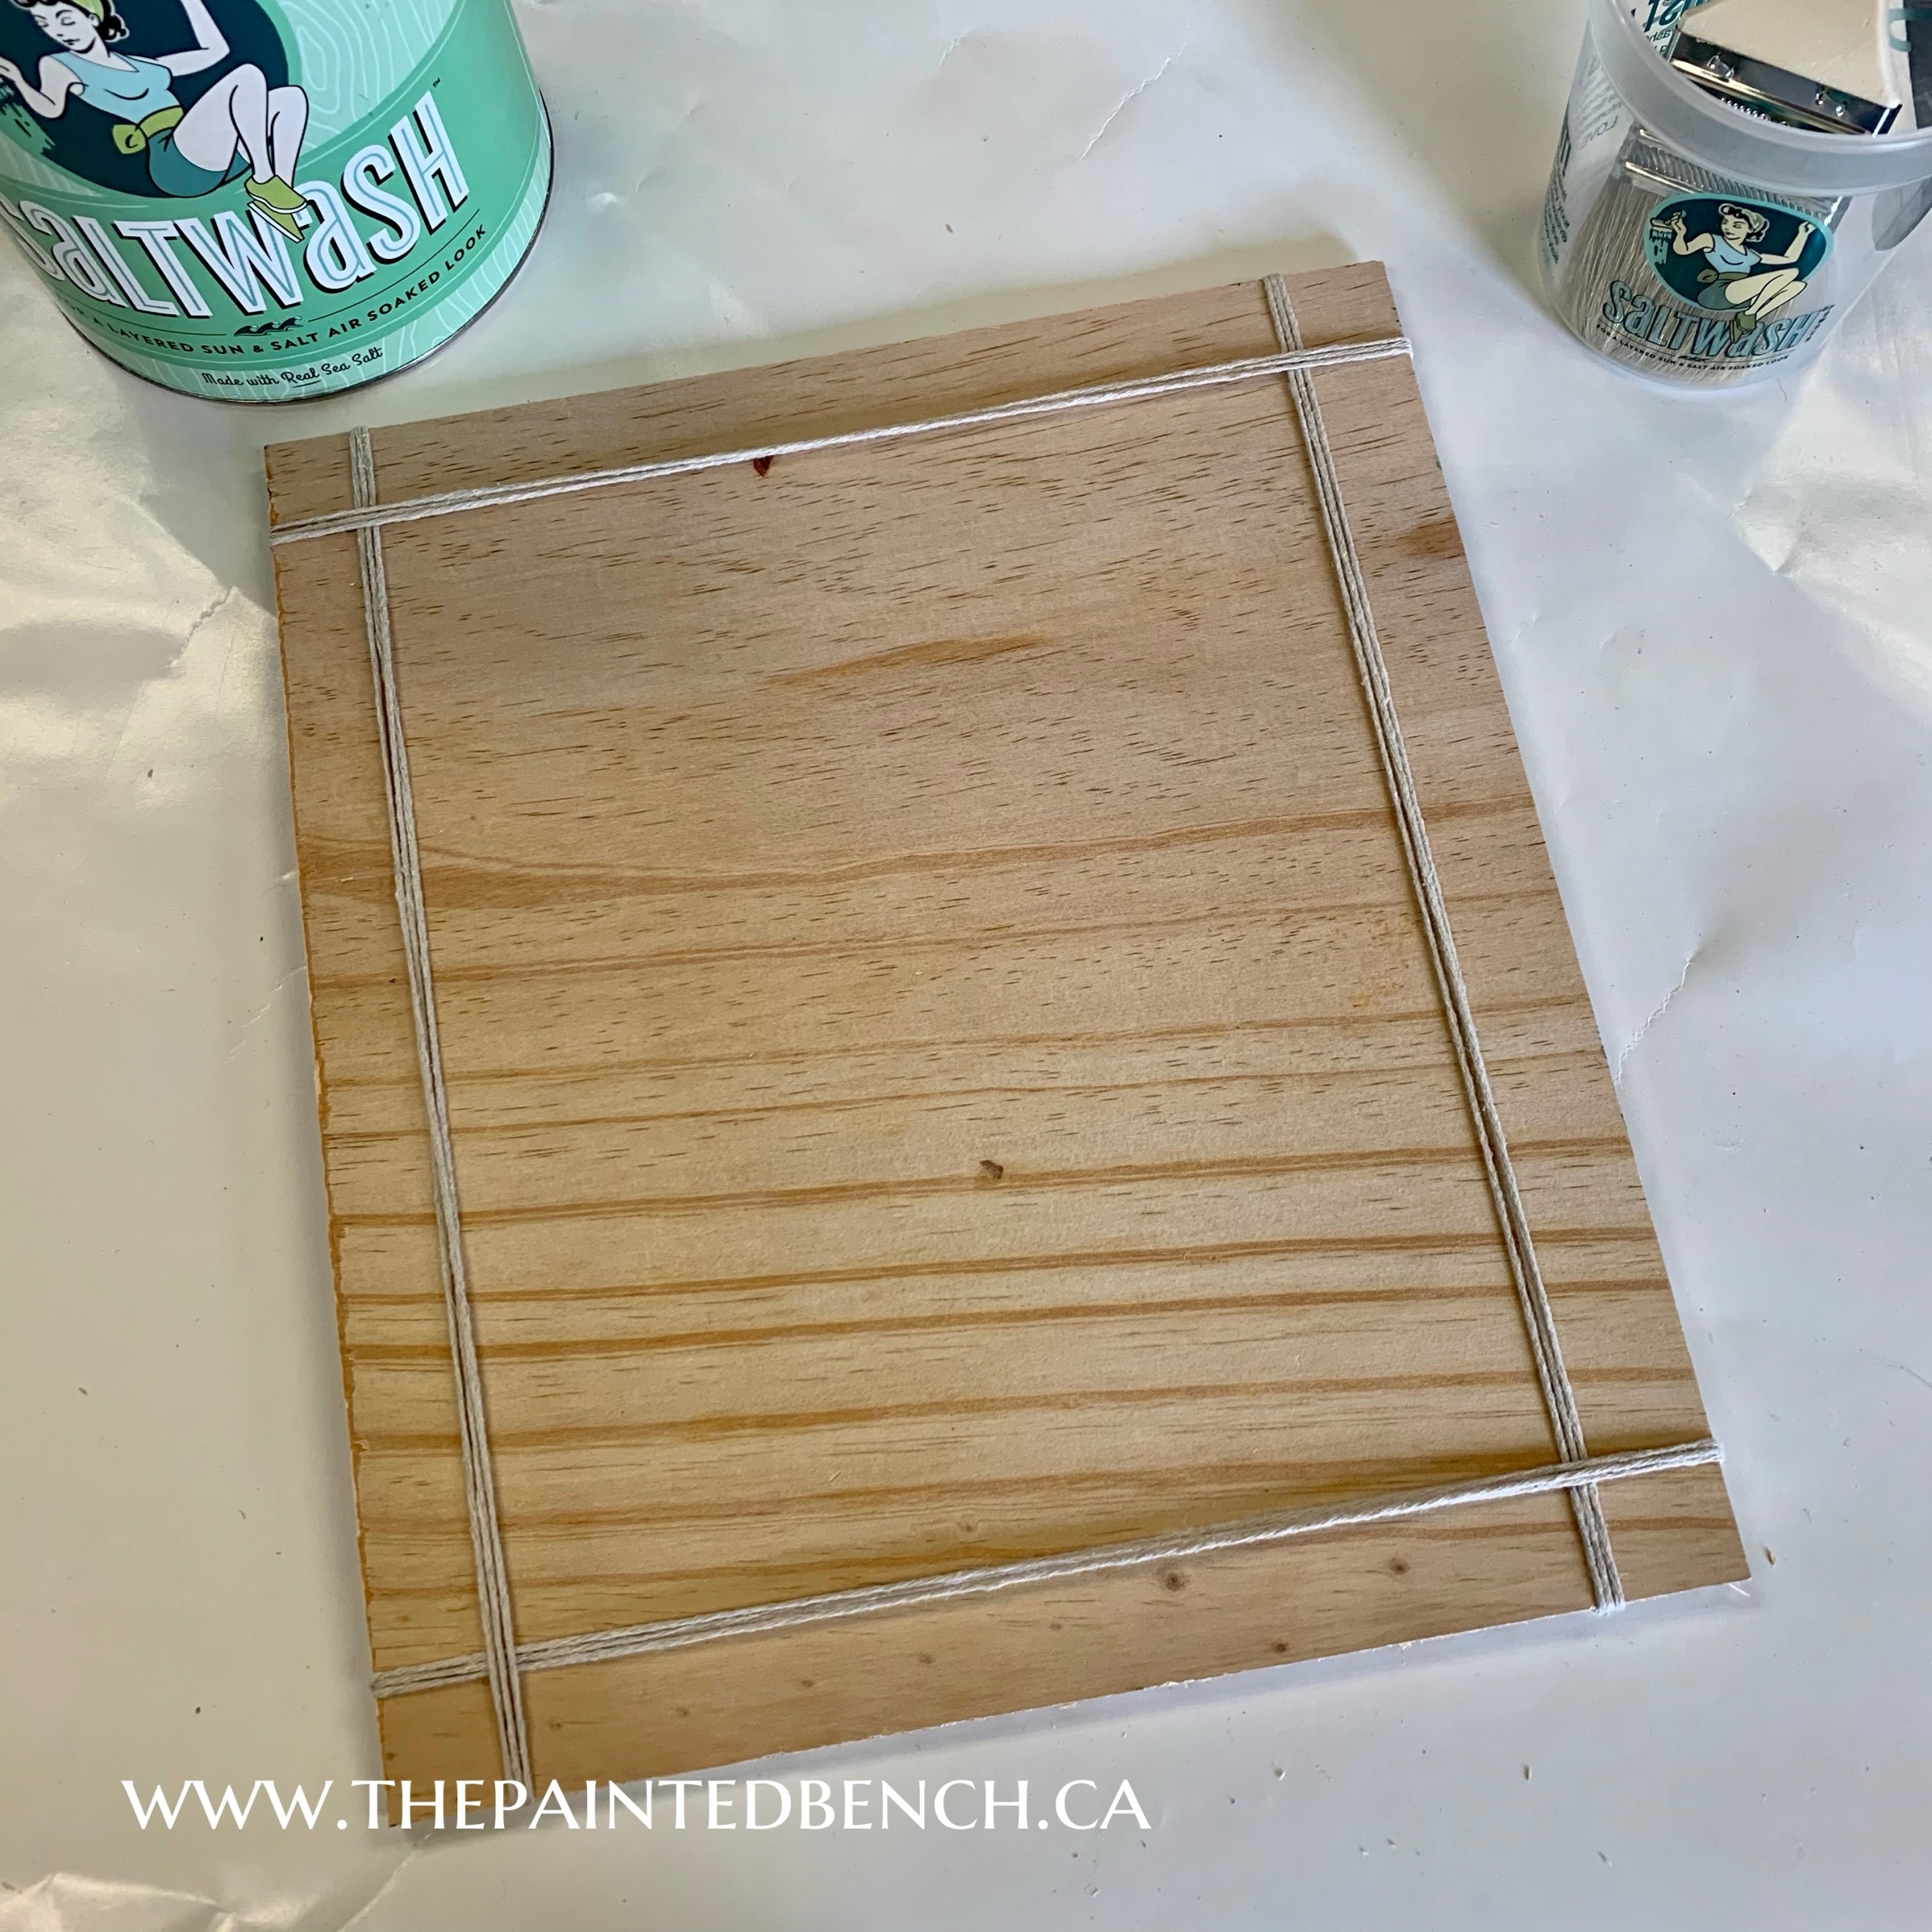
I wrapped my board with some butchers’s twine that I had in the shop but any string or twine will work. Make sure this is as tight as you can get it, it stays in place much better that way. I eyeballed the placement, I really didn’t want perfection.
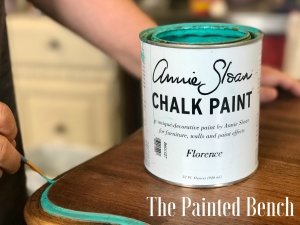
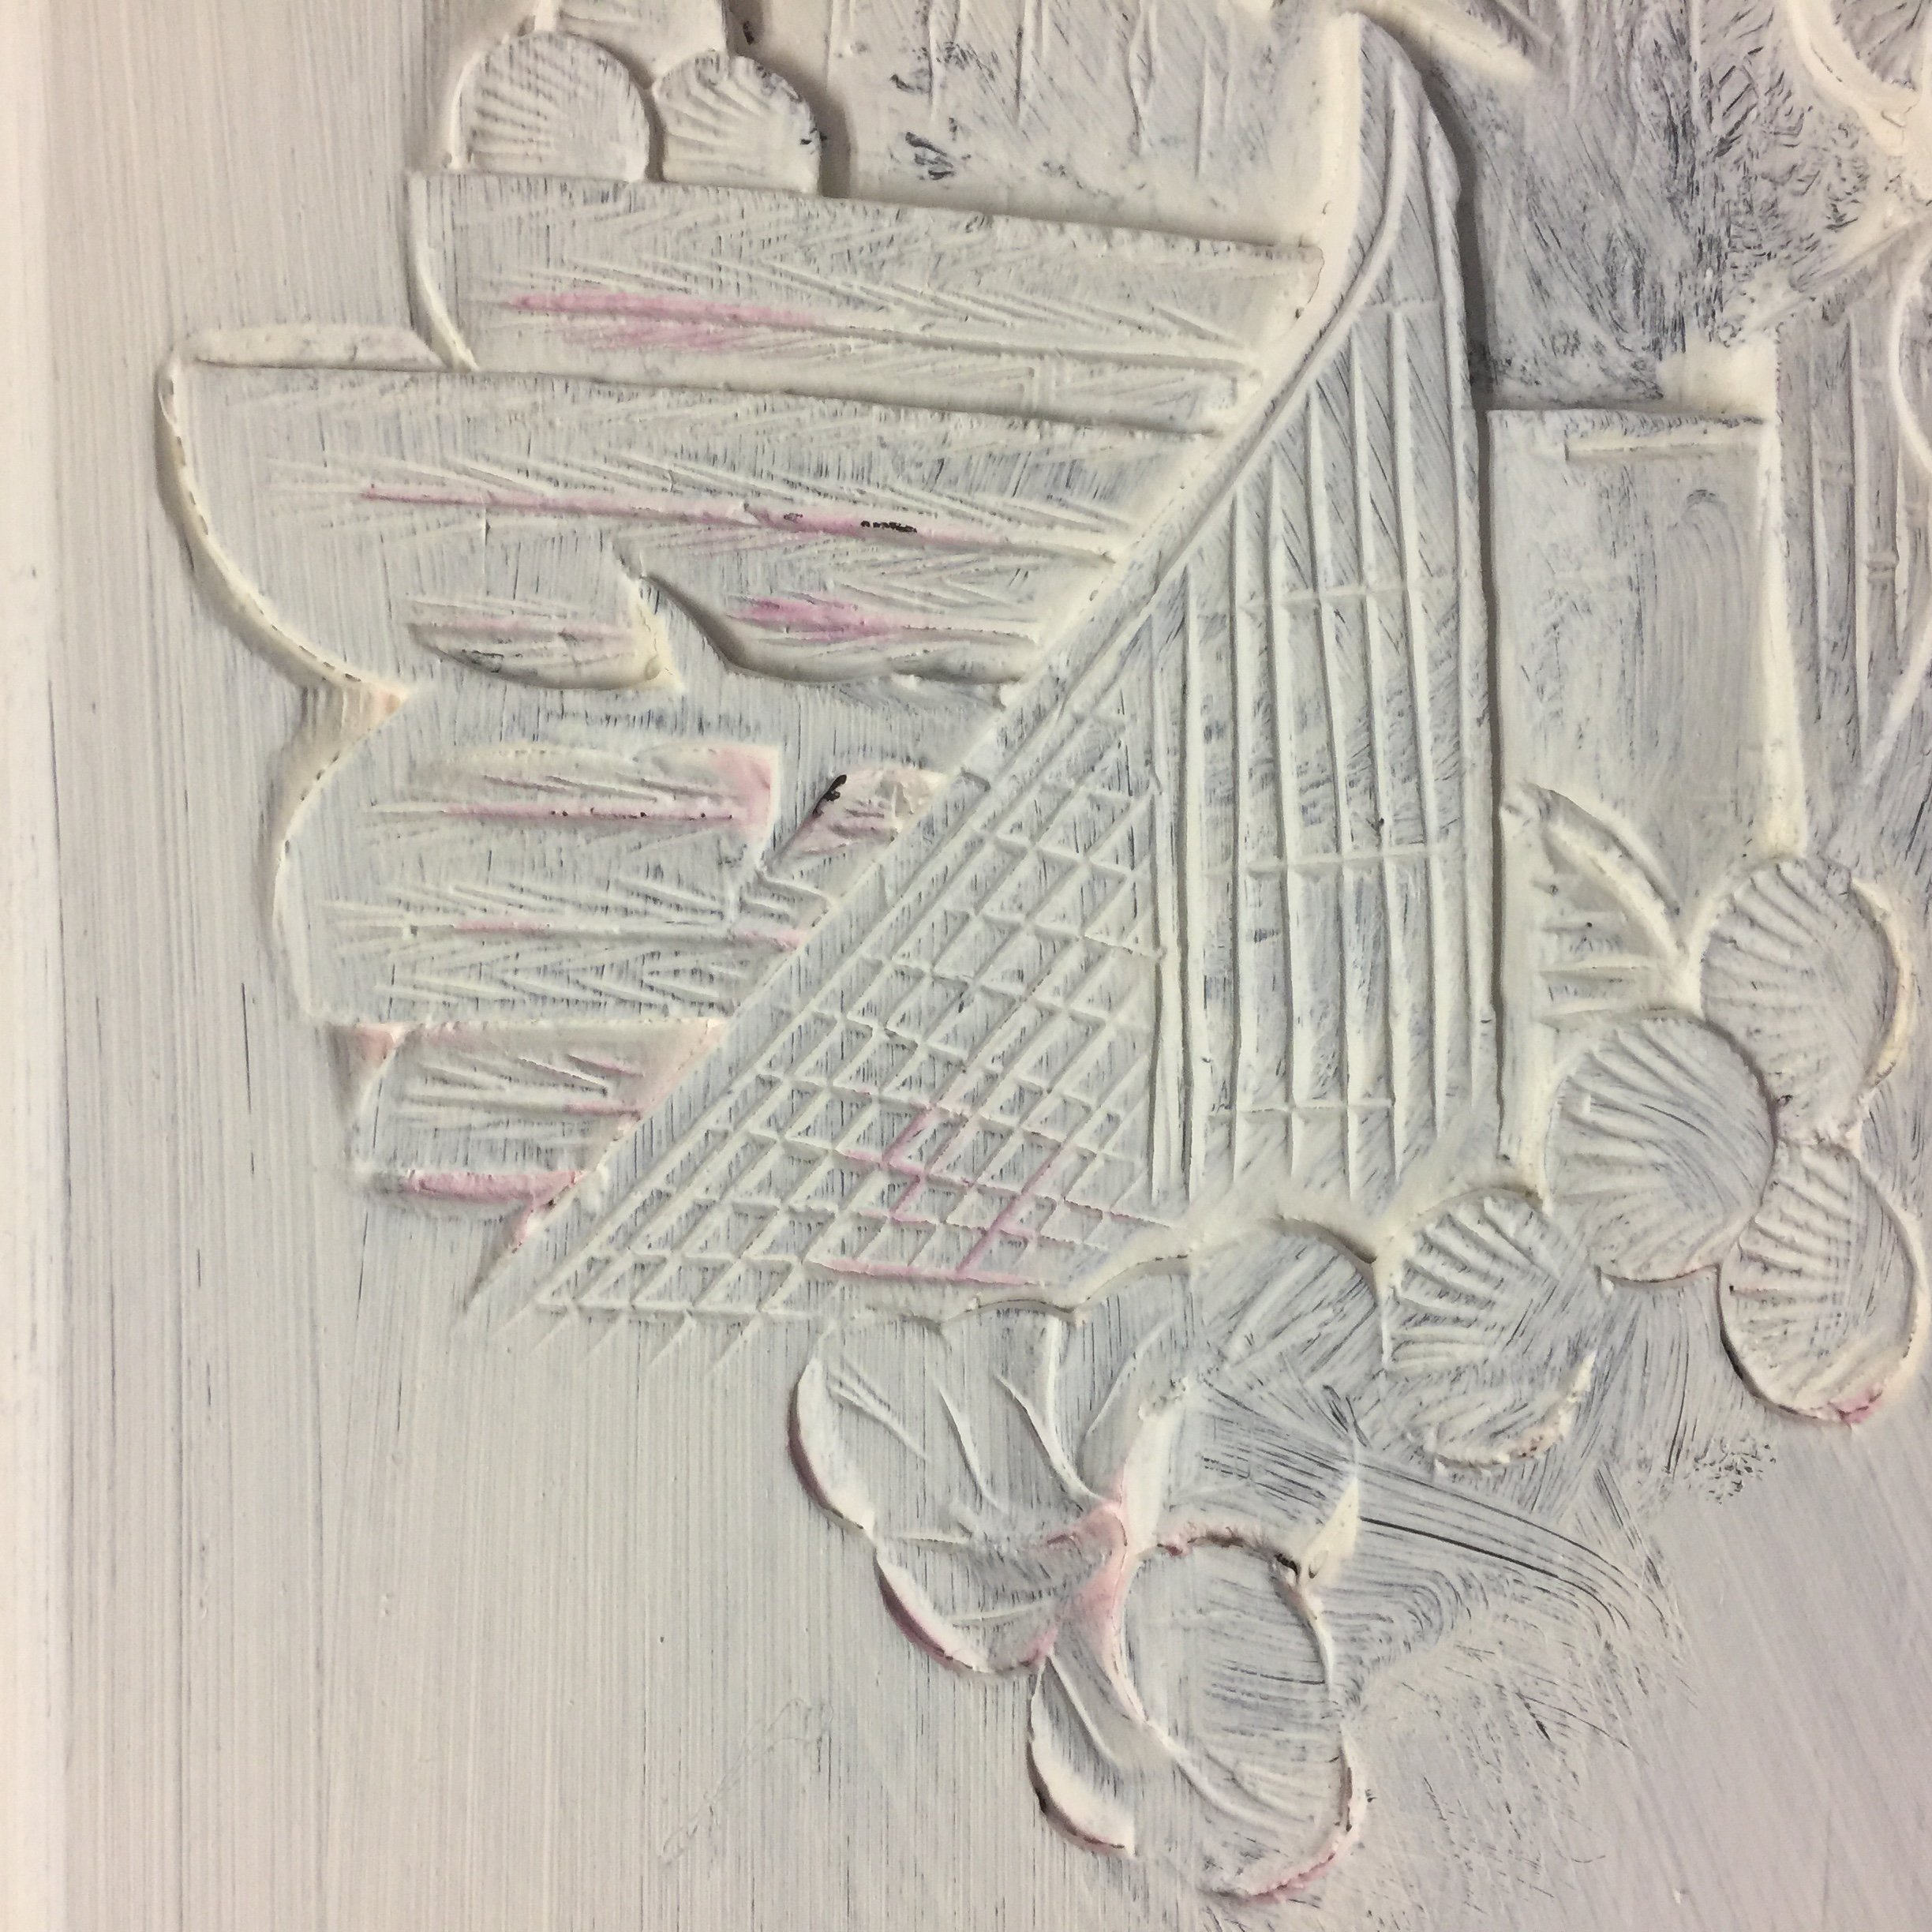
The instructions on the video said to use plaster of paris for this step, since I didn’t have any and we use Saltwash for texture all of the time, I gave it a try and it worked perfectly! I made a 50/50 mix of Annie Sloan Paint and powder and brushed it on instead of pouncing creating a smoother finish than we normally would with a Saltwash mixture. I then took my squeegee for my stencil work and smoothed the mixture down even more creating a nice surface for the transfers. You could use an old giftcard for this step or a paint scraper. Just be sure you don’t smooth too much and expose the board underneath, you want a nice coating on here. Just look at that texture!
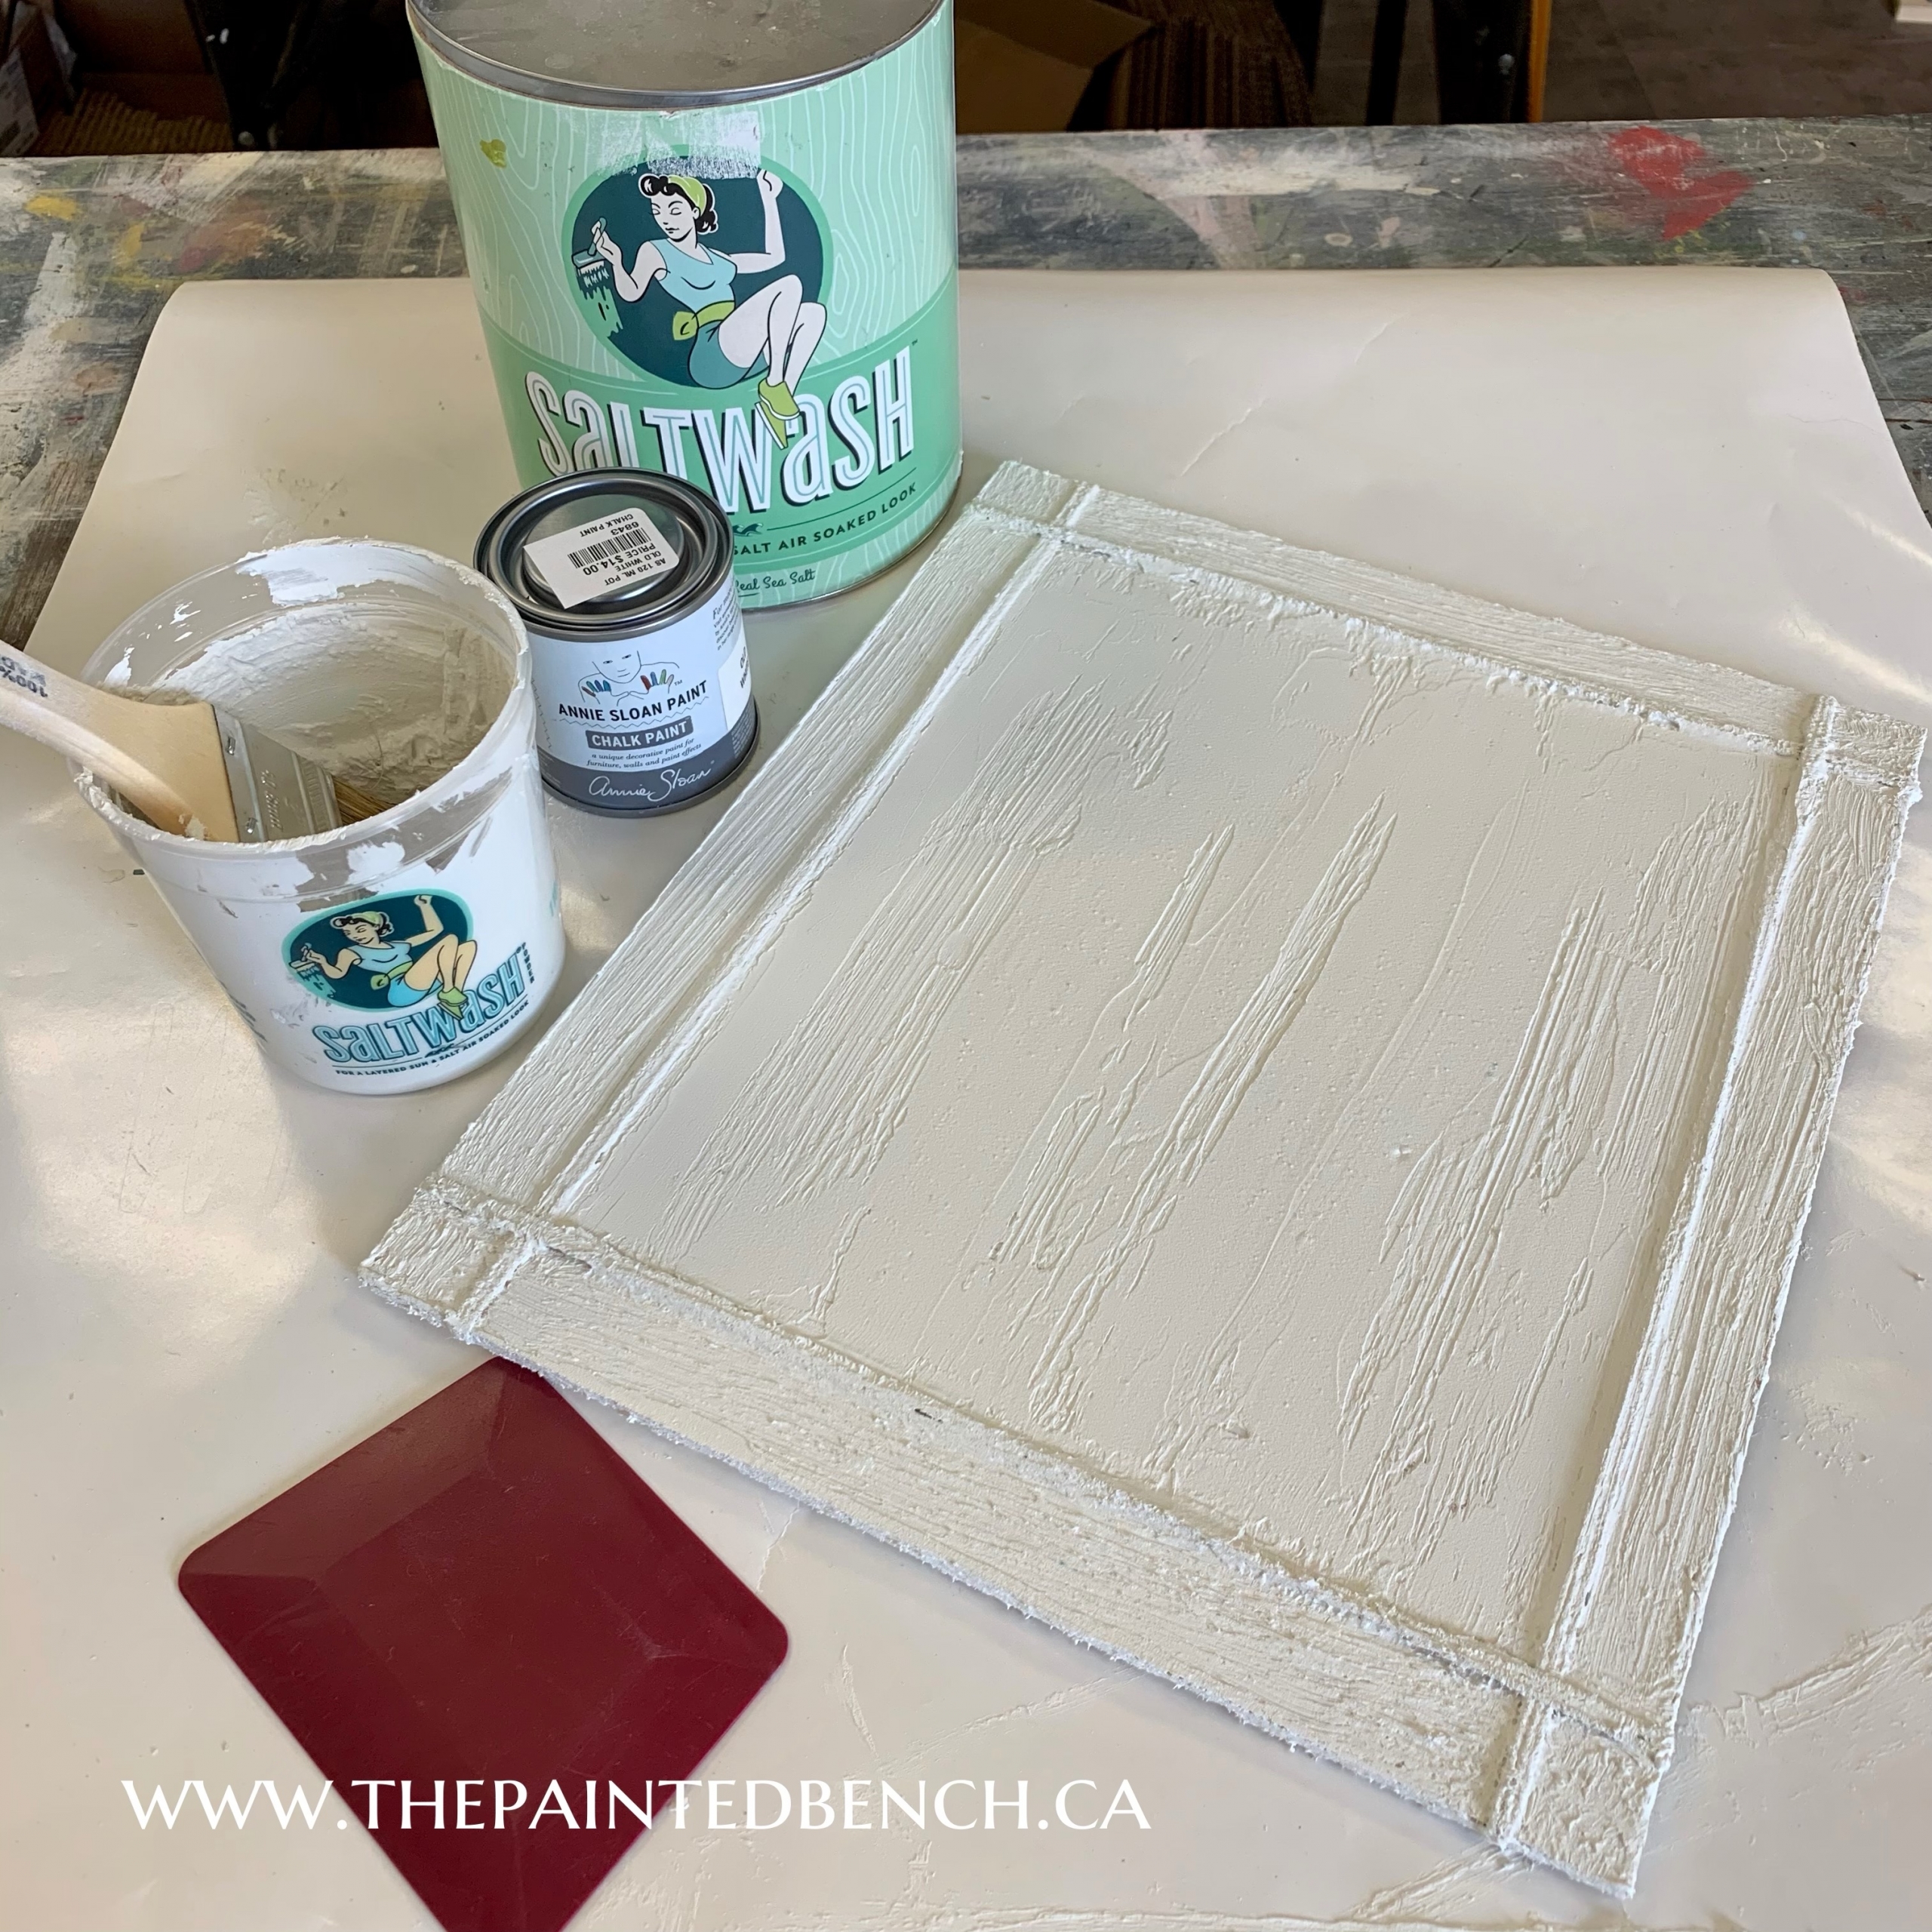
Set this aside to dry thoroughly. I set mine in front of a fan for 20 minutes or so which probably wasn’t long enough, I’m not known for my patience! When dry it should feel room temperature, if it is still cool to the touch it isn’t dry.
Because I mixed Old White by Annie Sloan with the Saltwash I could have skipped the coat of paint that Carmen applied to the plaster of paris. As long as I had good coverage without anything showing from underneath I would be fine. I went ahead and applied a coat of Old White but I didn’t really need it. Once that was completely dry I sealed the painted surface.
To seal the painted surface for transfers I always use Flat Out Flat from General Finishes. It provides a completely matte finish and the IOD transfers stick to it like glue! It is recommended that you seal your painted surface if you are using a chalk or clay based paint before you apply your transfer.
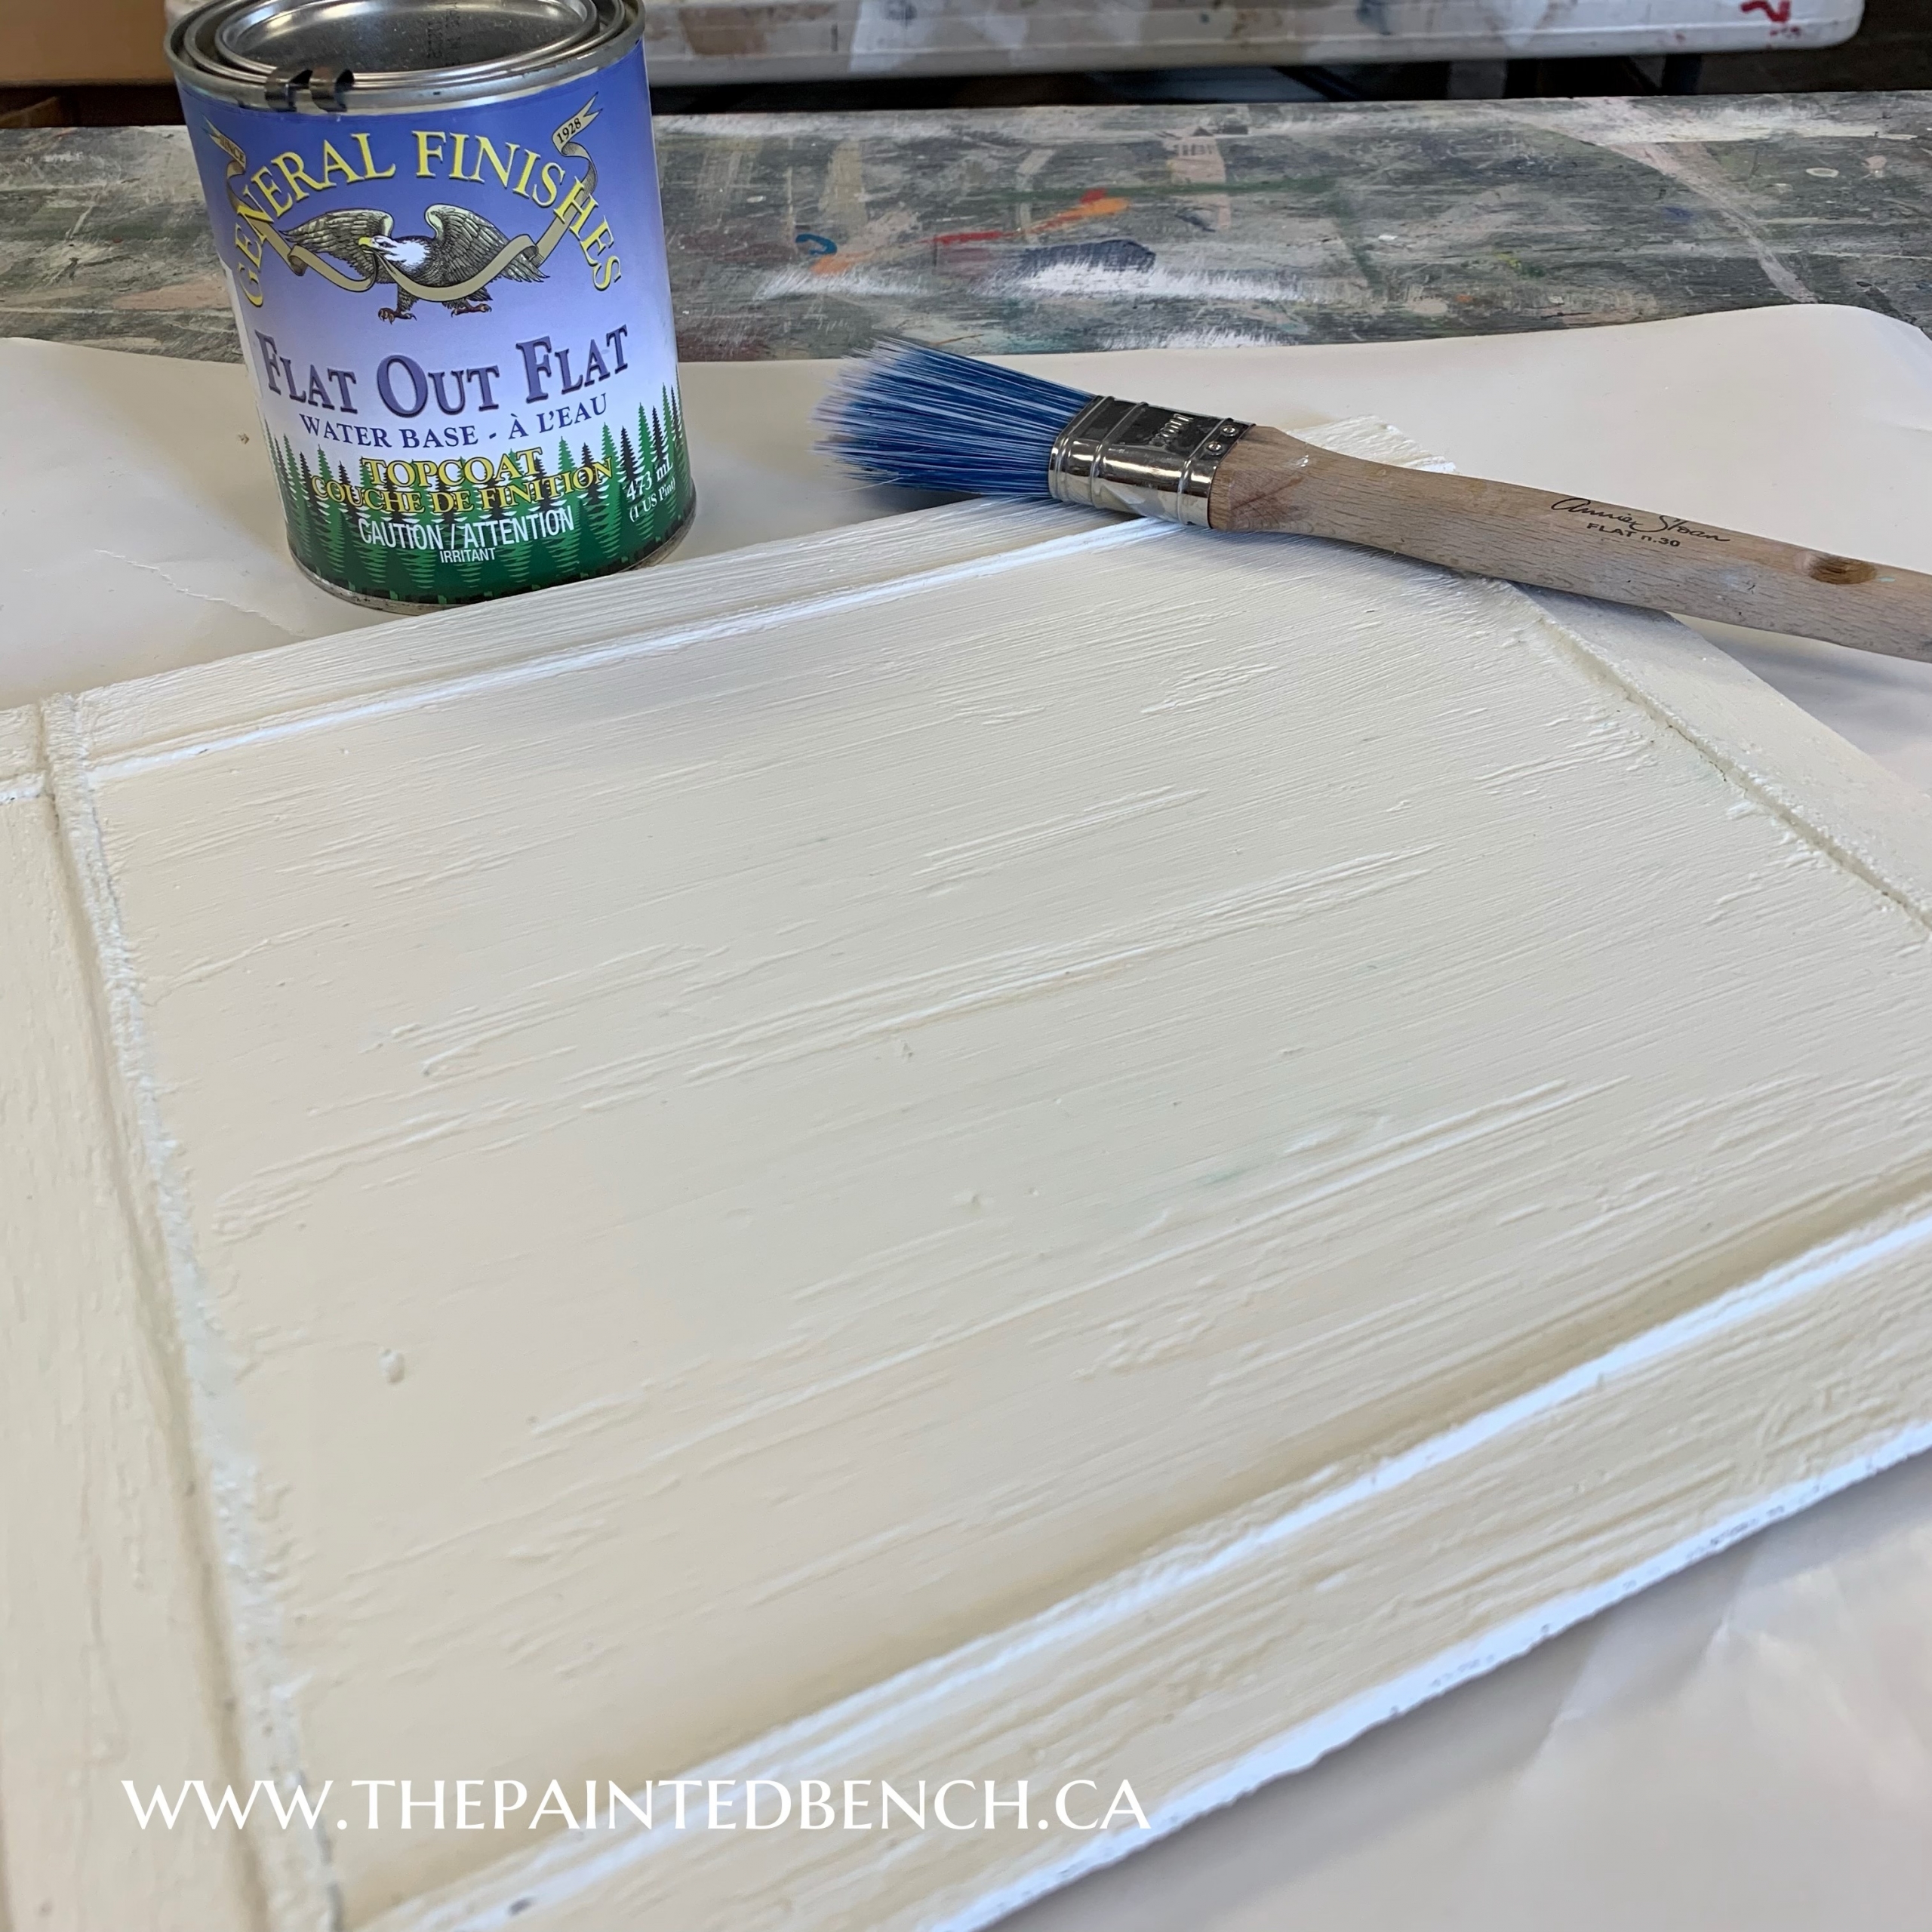
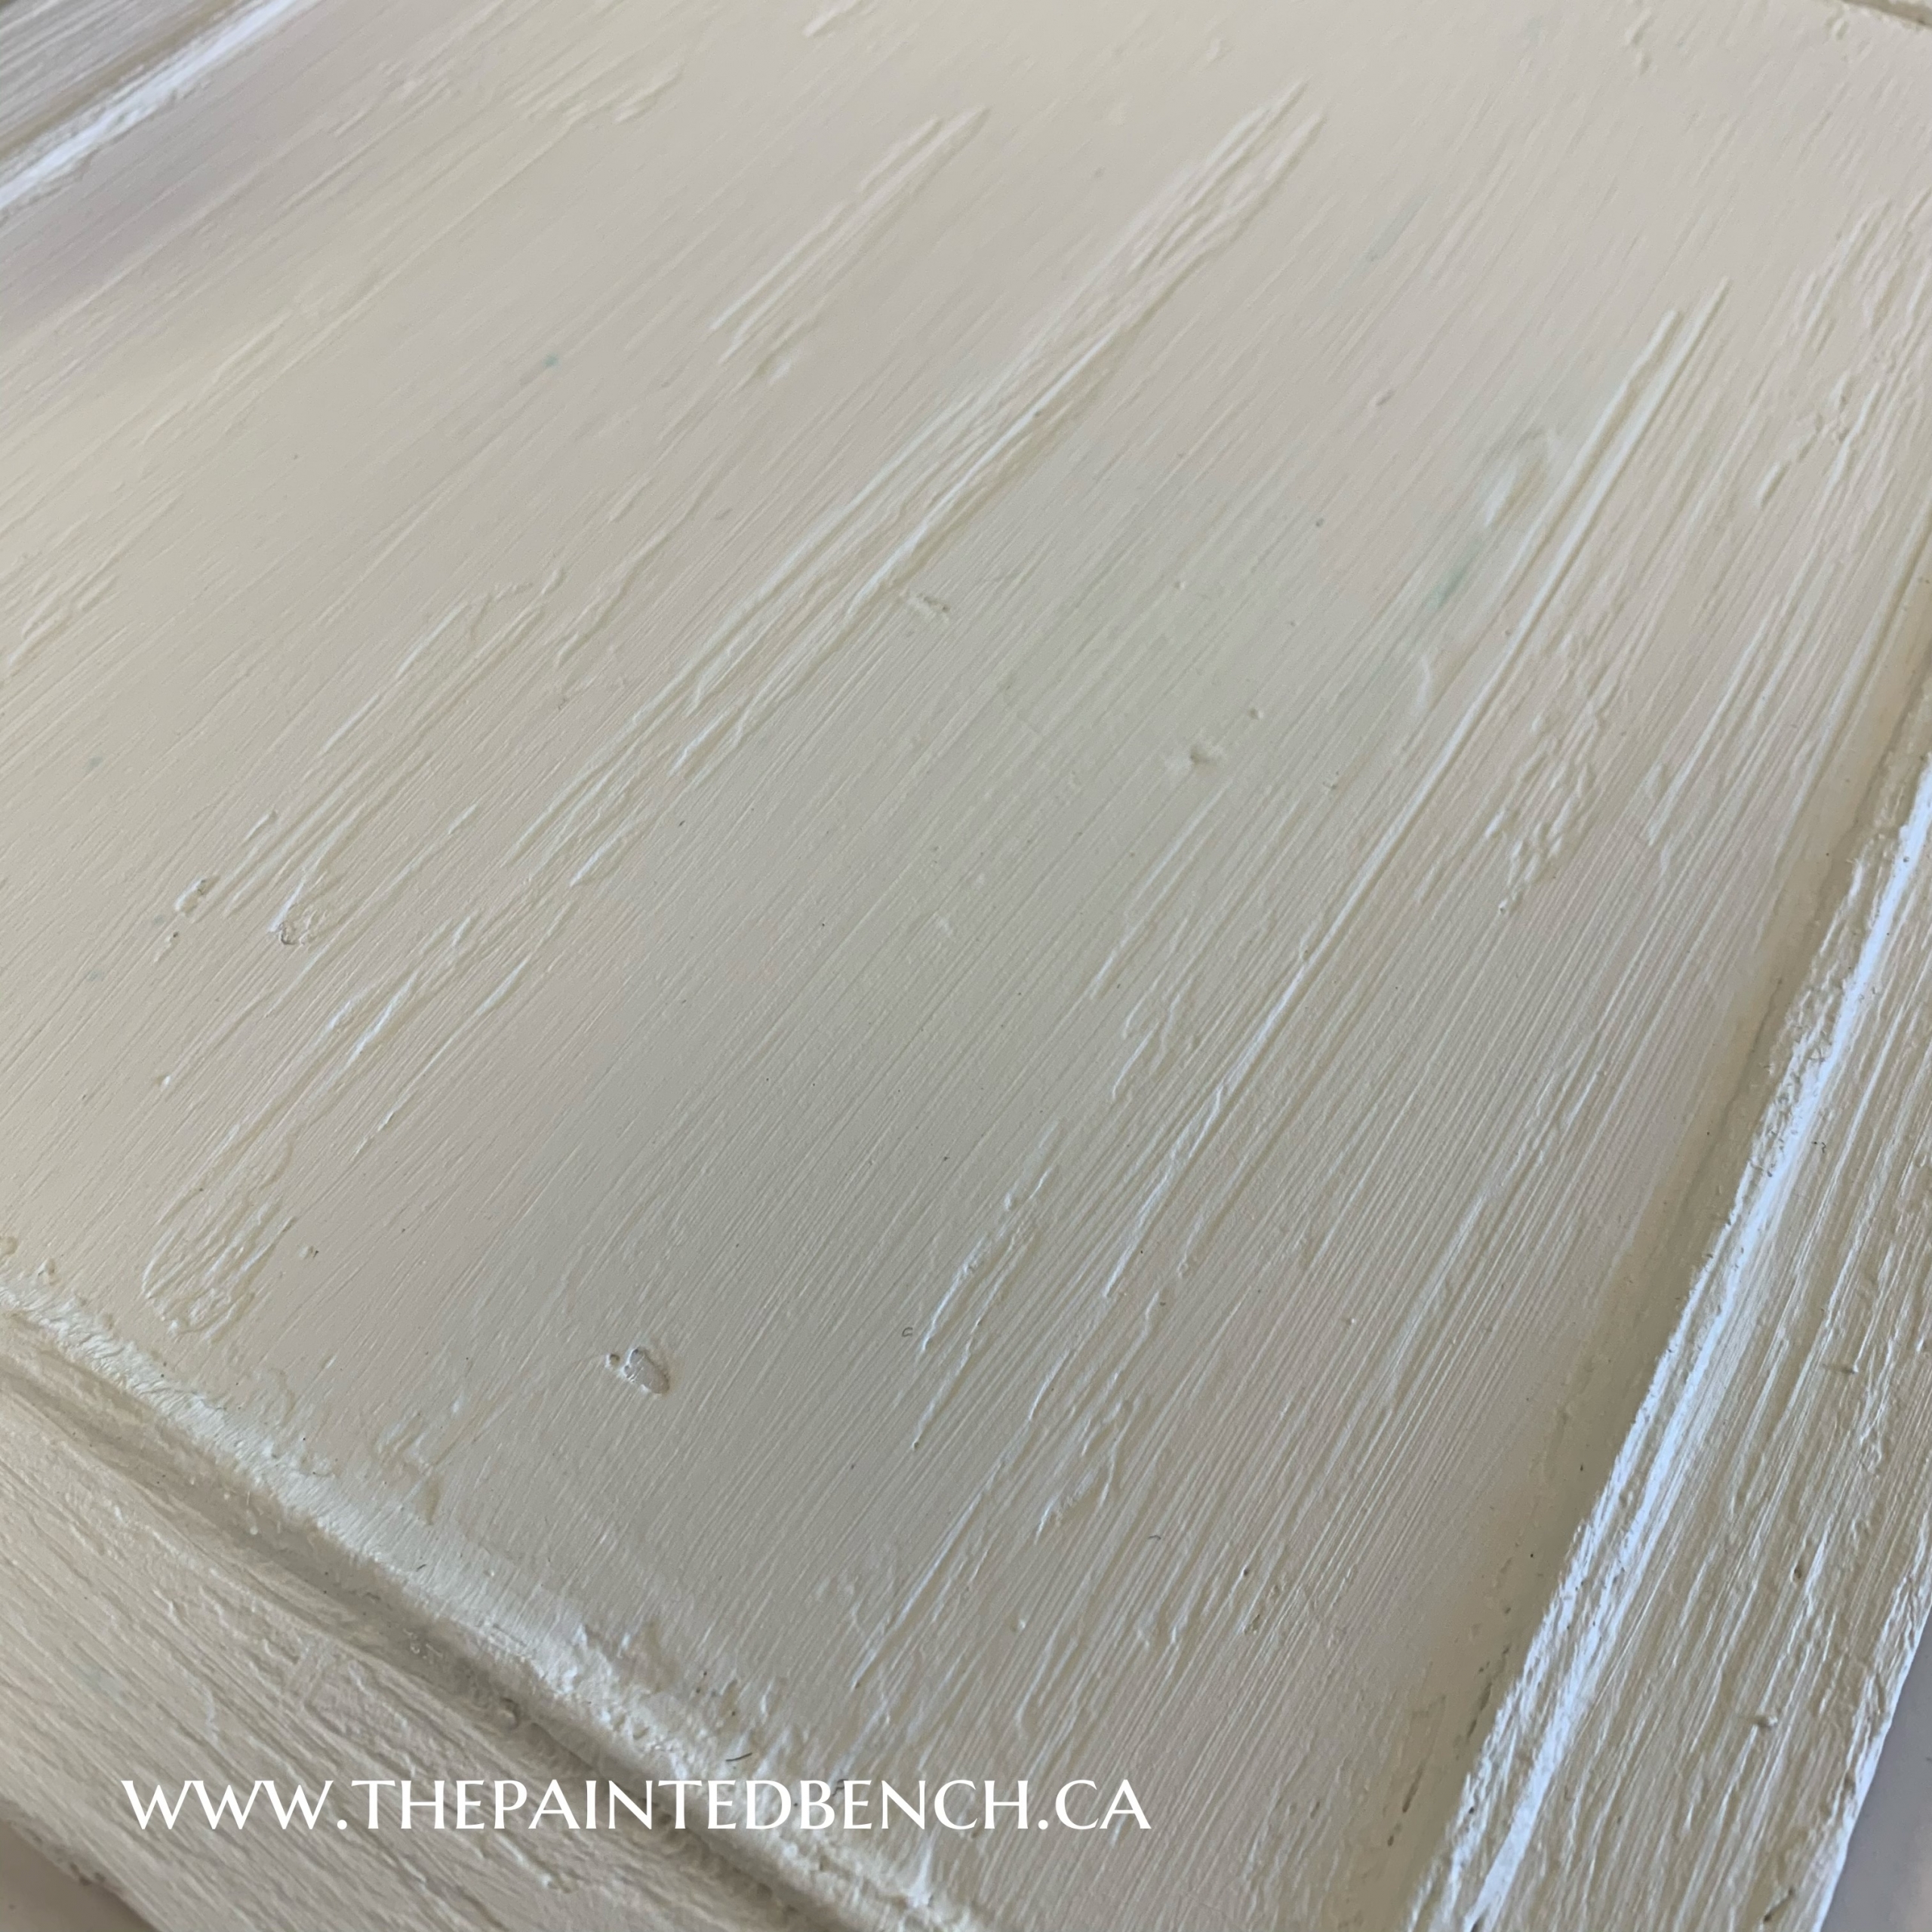
Now the fun begins! I sorted through the transfer scraps that I had on hand and chose some pieces that I liked for this piece. I arranged them in various ways changed out some bits and finally settled on something. Make sure you leave the backing on your transfers while you are working on placement. I’m tempted to try it without and I always end up with something sticking together, not good!
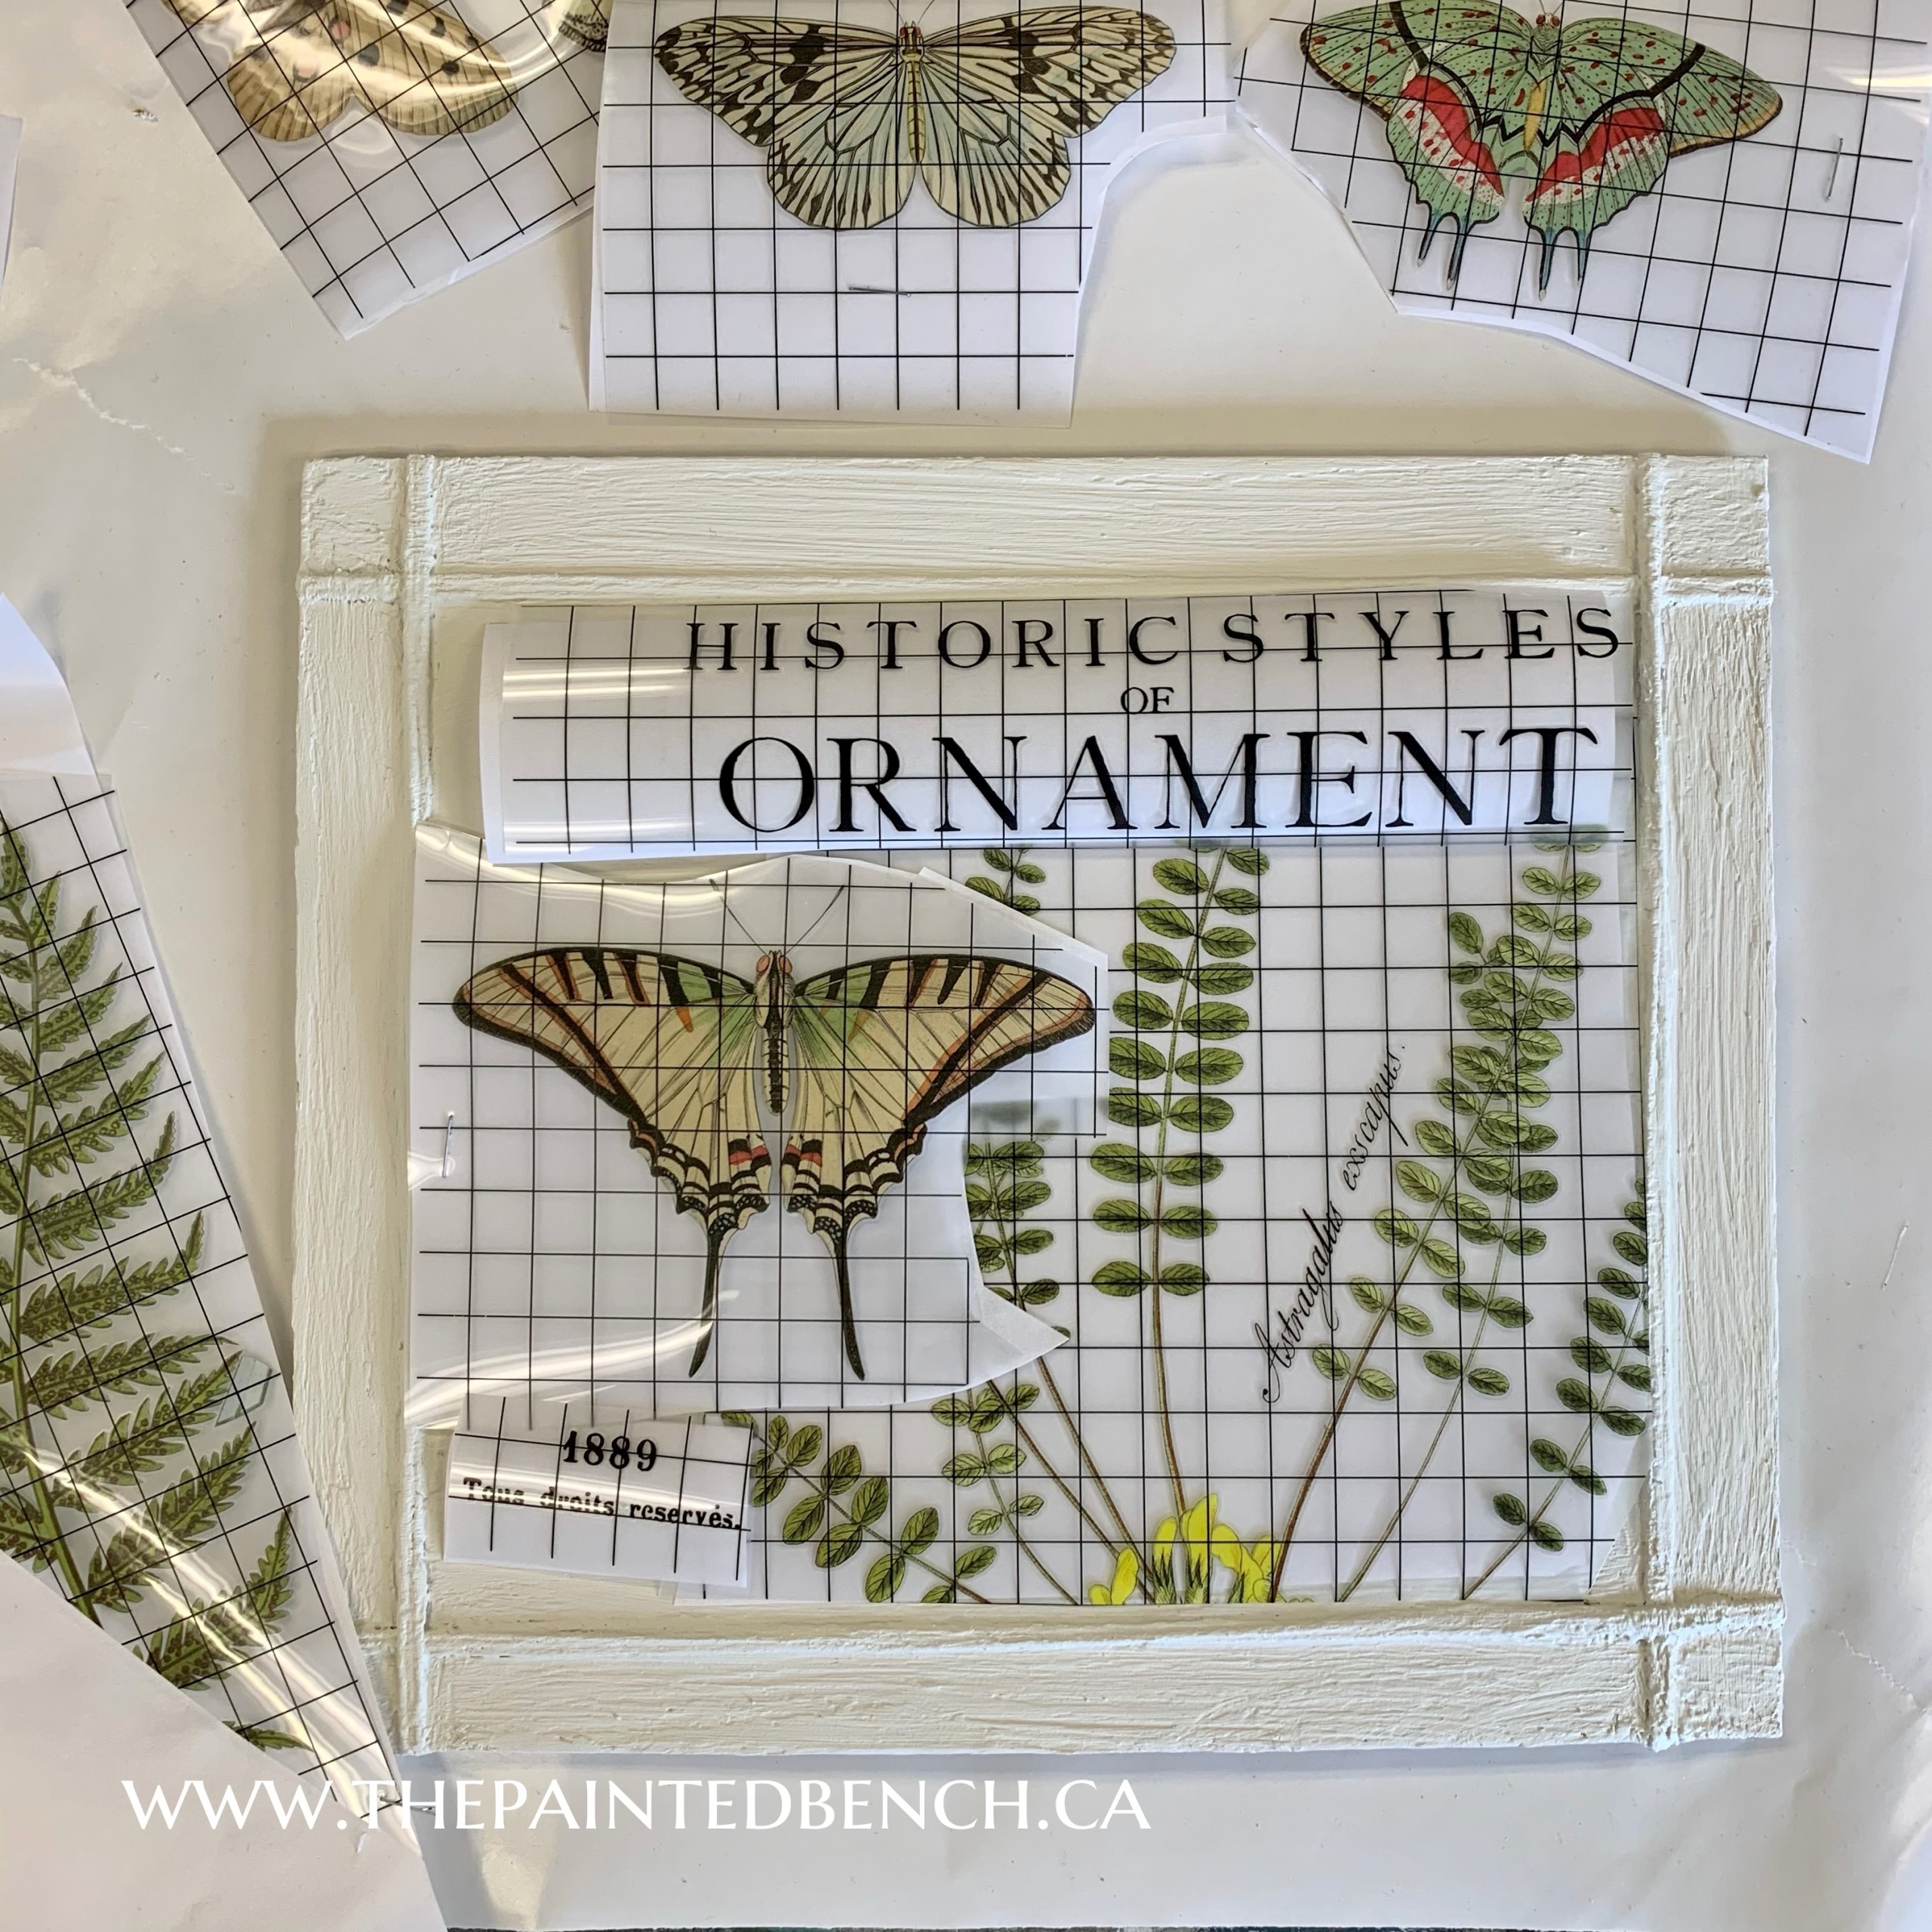
Don’t think your design is written in stone at this point. As you can see from my final layout I changed the arrangement and added another butterfly and I like it so much better! I won’t go into applying transfers at this time, if you haven’t used transfers before we can guide you through that step but for most of you you know what you’re doing.
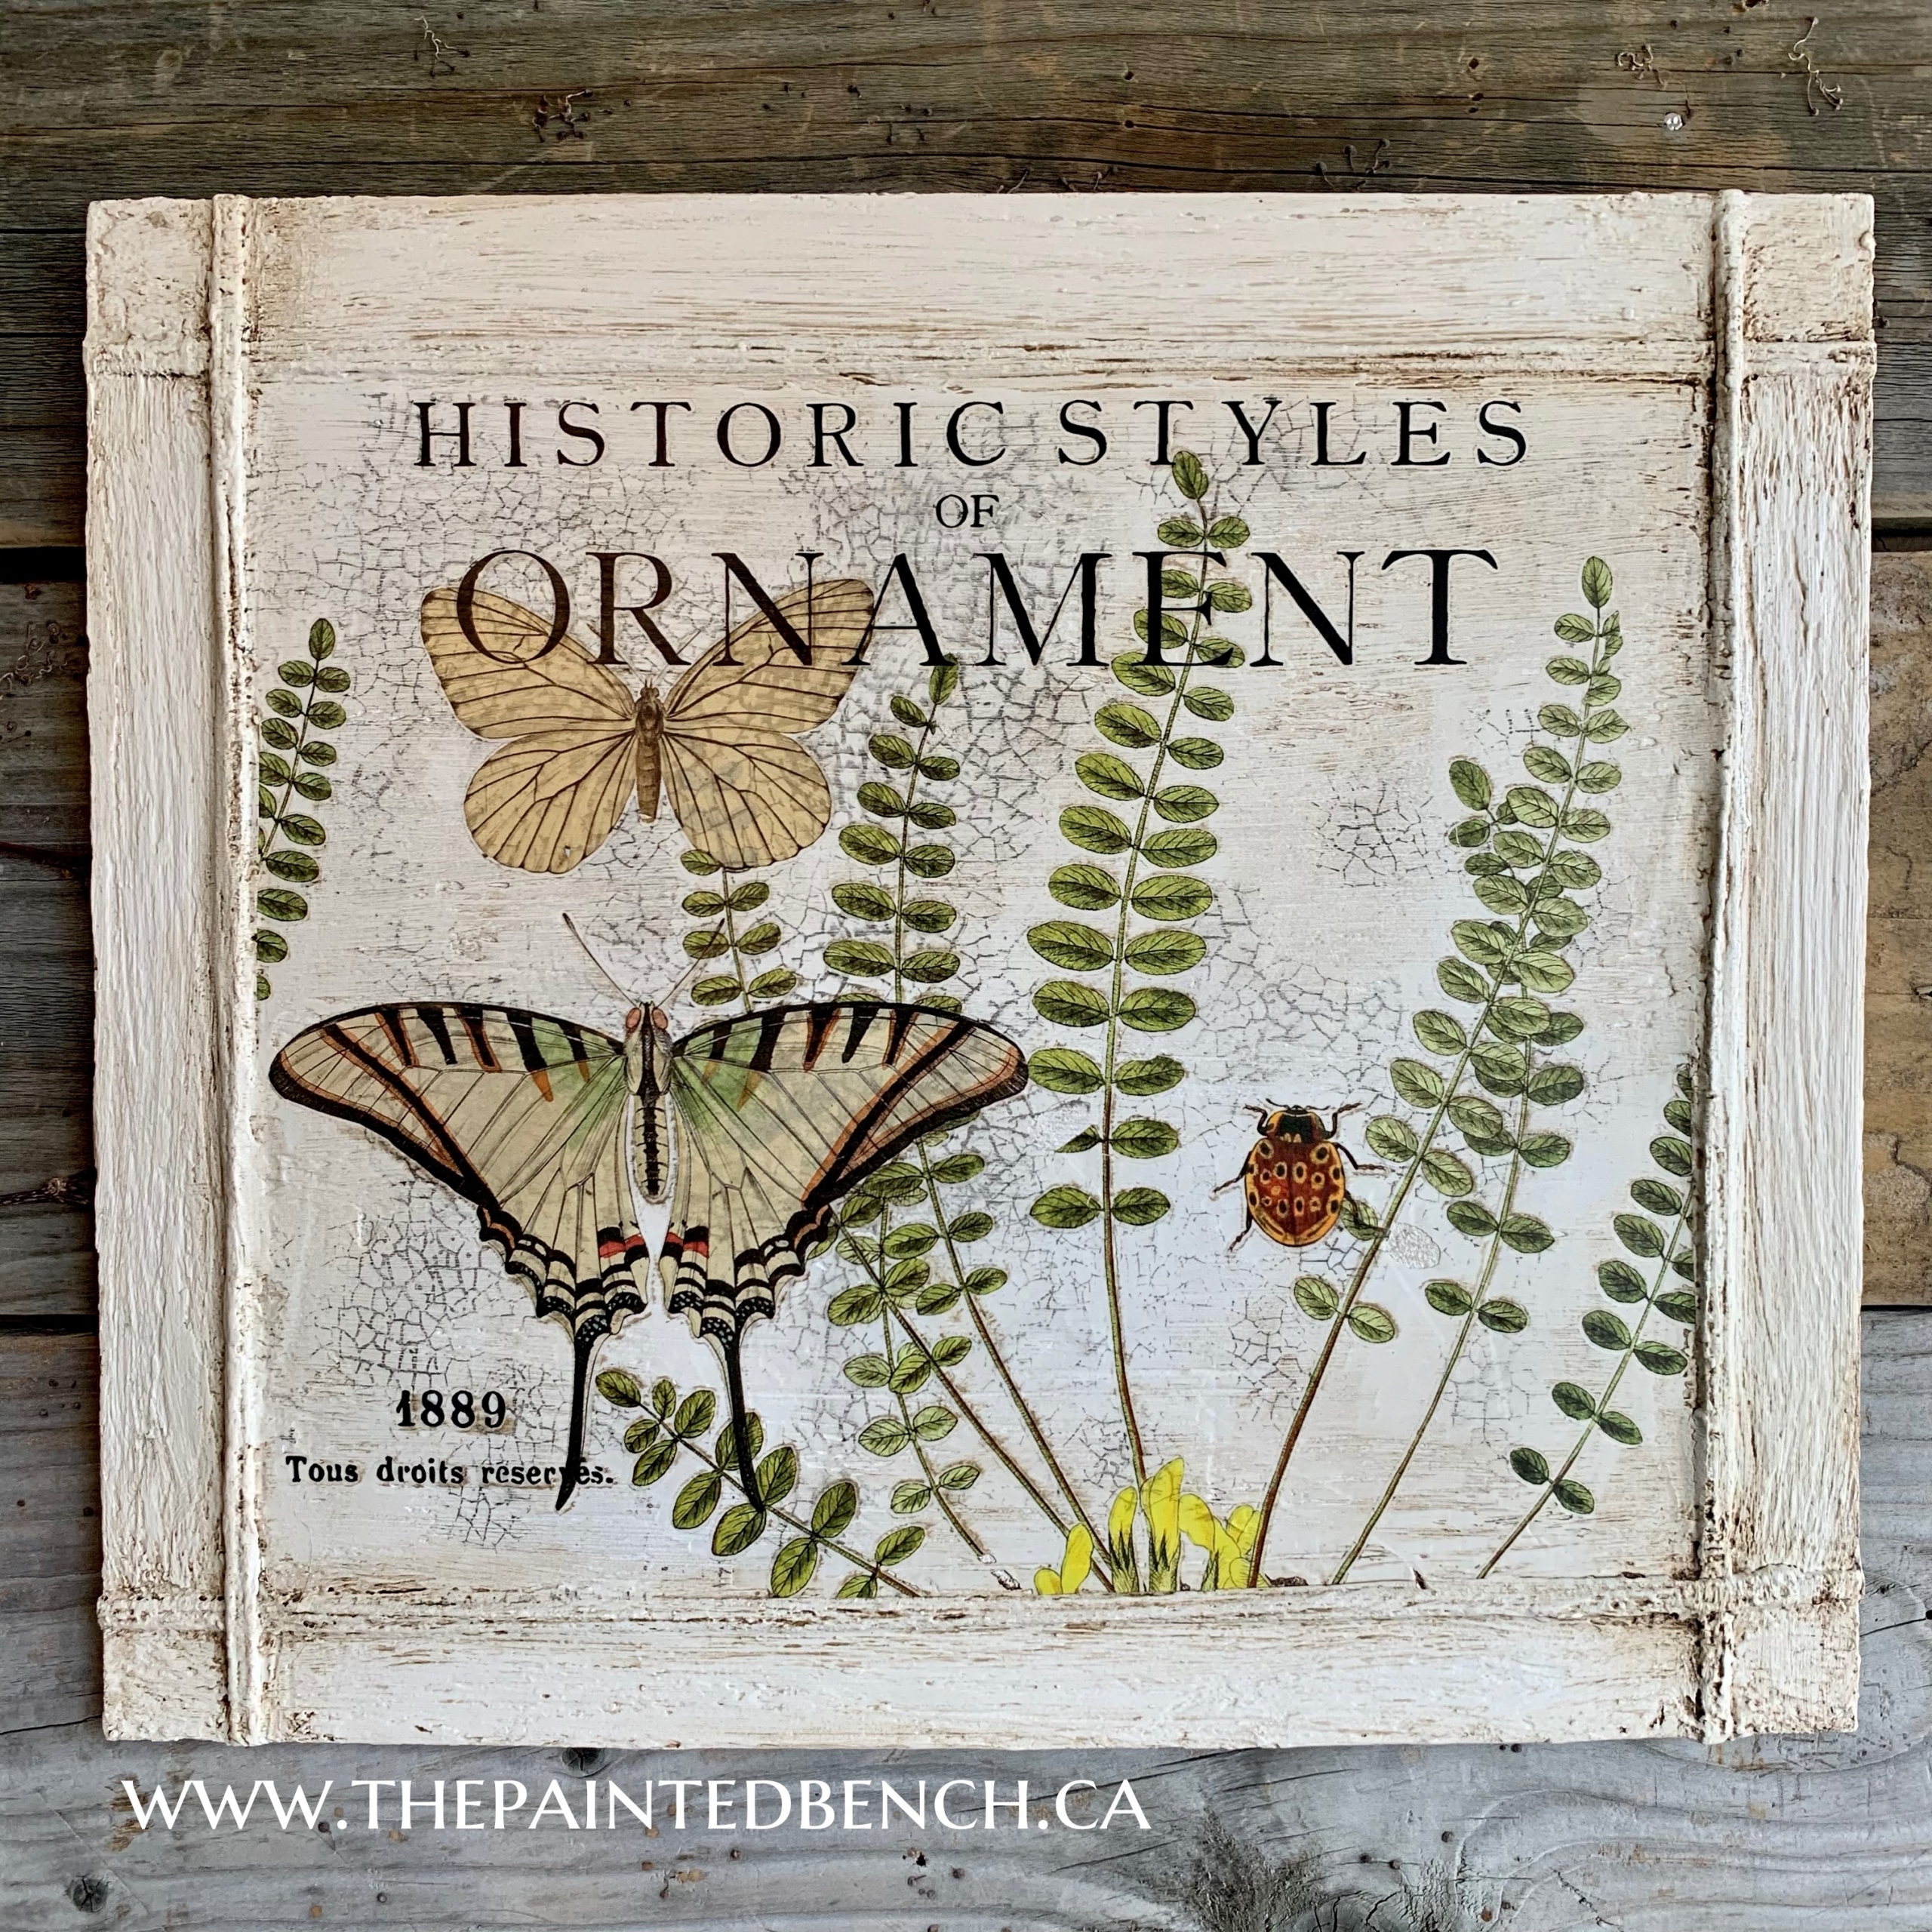
Remember I said I should have let this dry a little more before I started to apply the transfers? If you look closely you can see where a leaf to the right of the beetle lifted off with a layer of topcoat. Make sure you take the time to let each layer dry completely to avoid this problem. On here it doesn’t bother me at all, however if was working on a bigger project and more of my transfer did this I would not be happy. I usually wait 24 hours between paint and transfer just to make sure everything is dry.
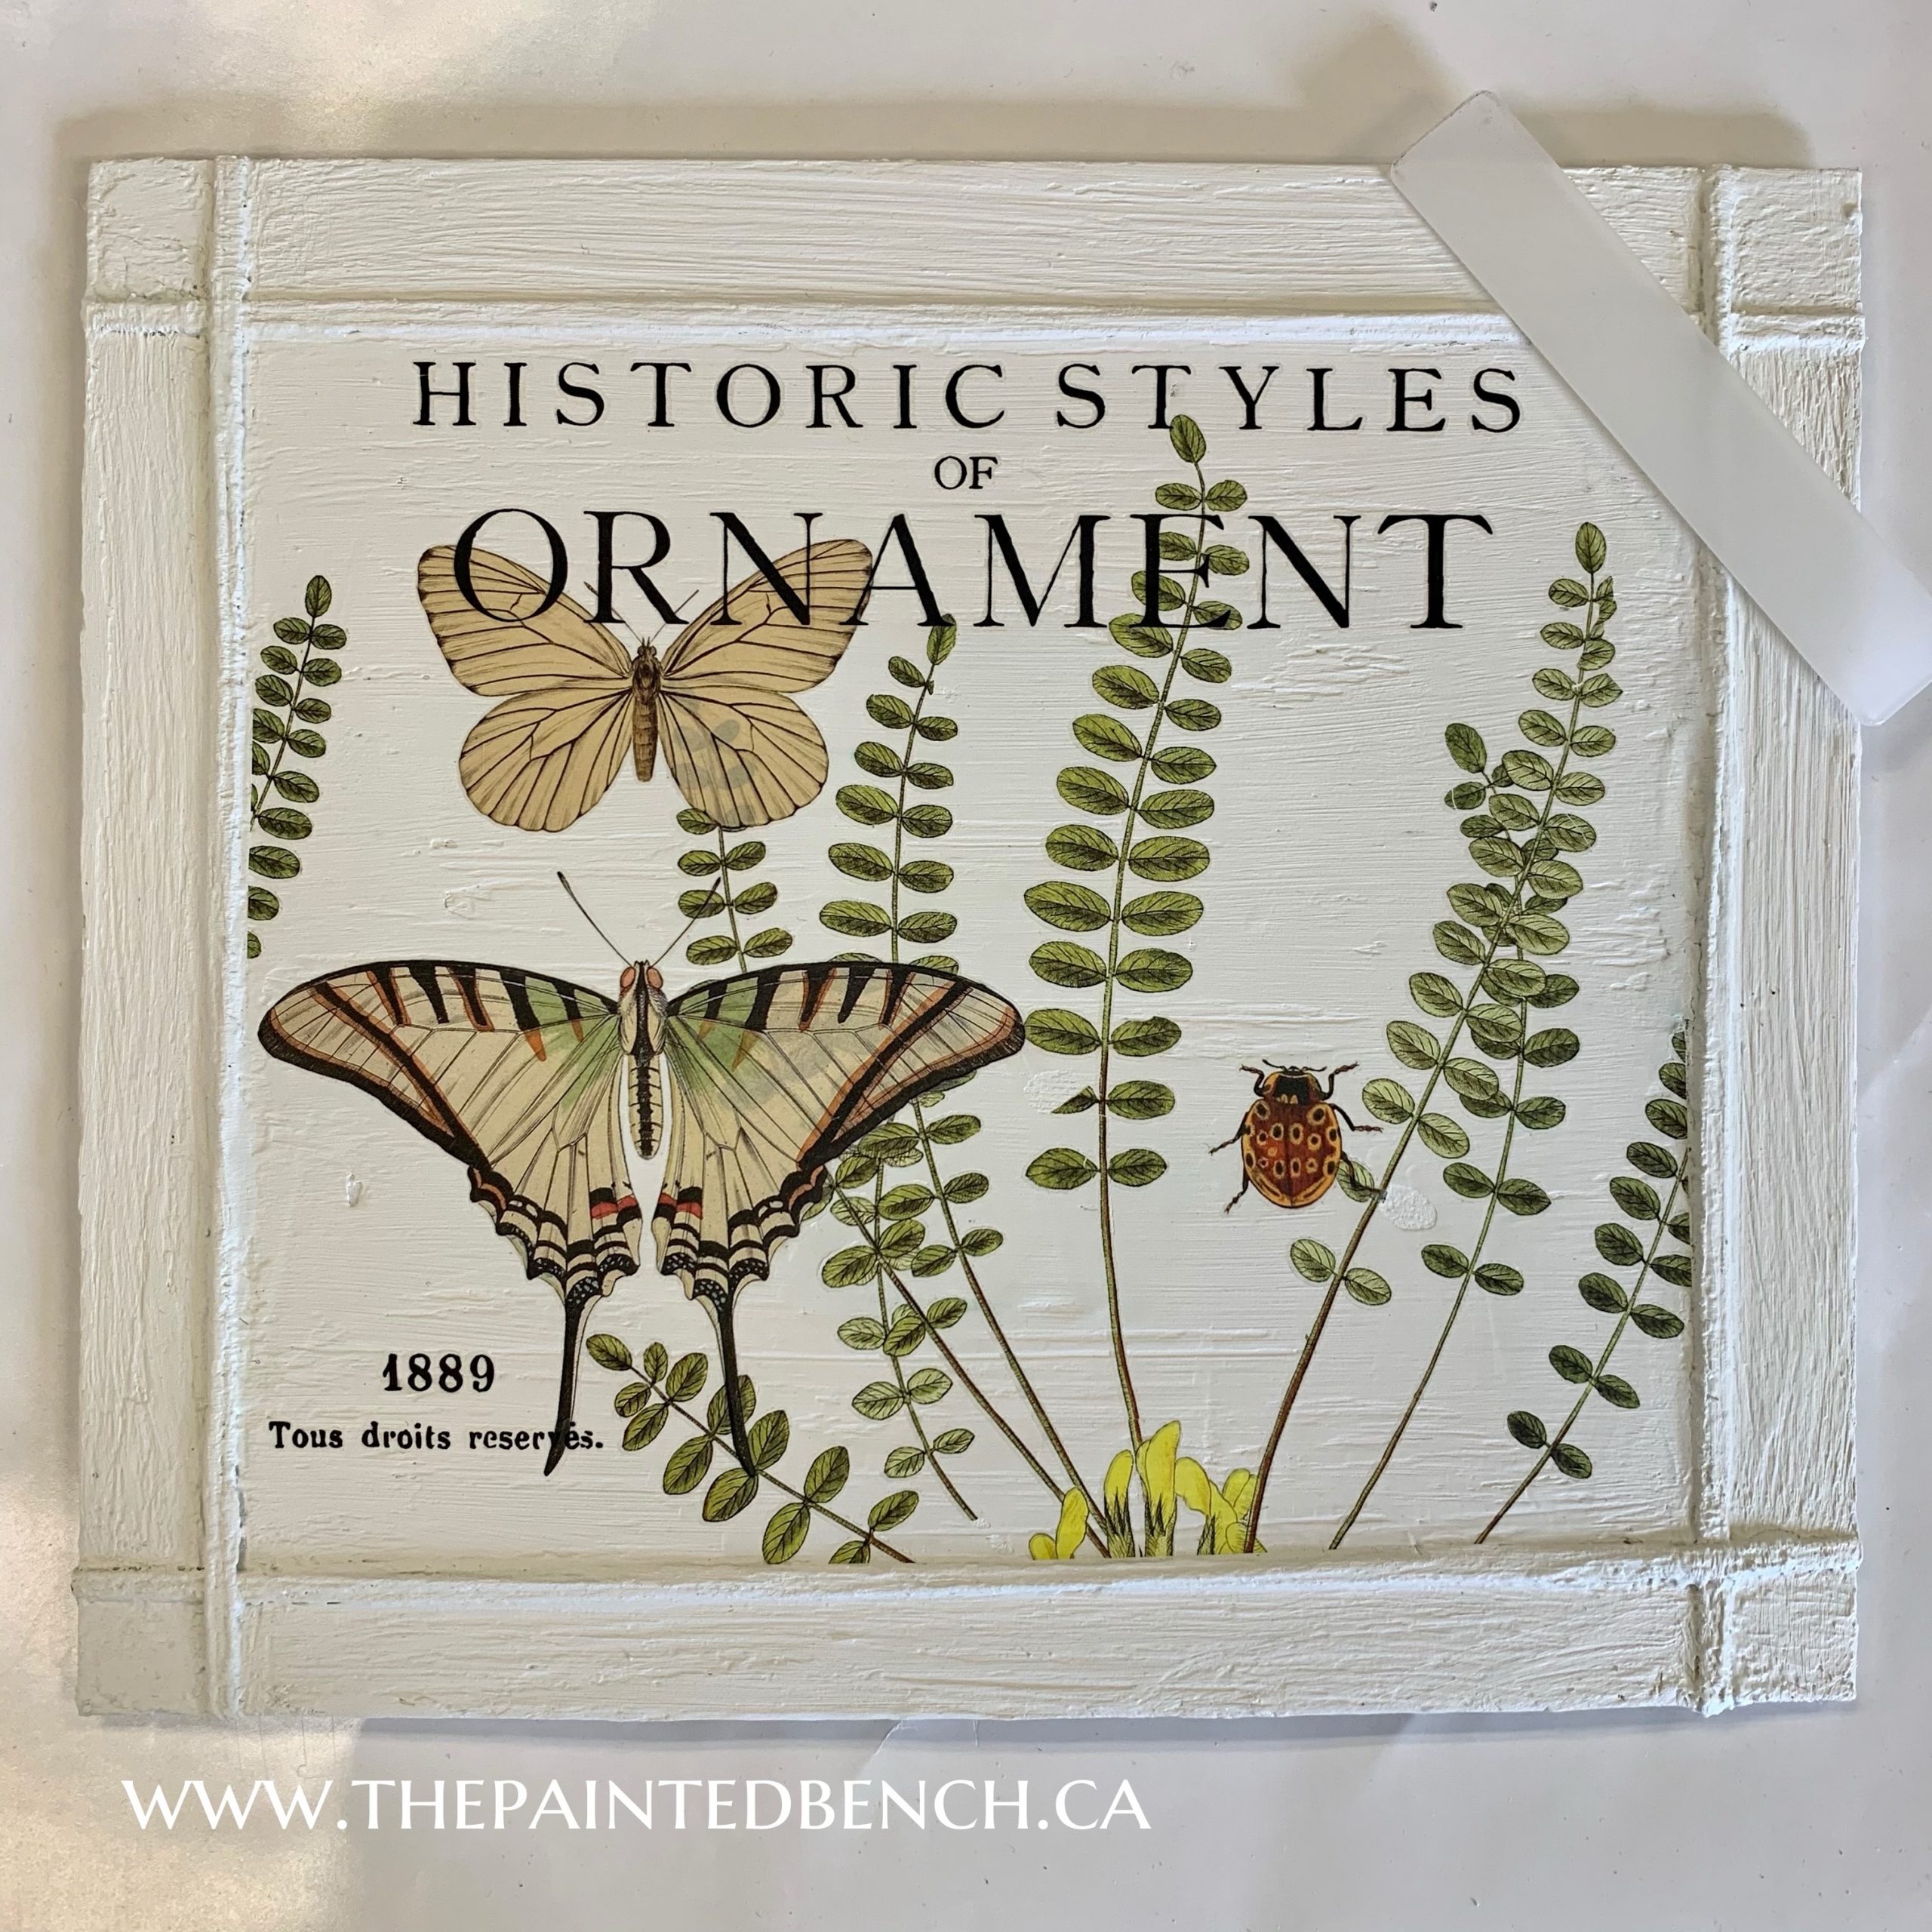
To finish everything up I added a little aging with my IOD Craqueleur Stamp and some IOD Black Ink. Next time I will use Stone Grey Ink instead, I think the black stands out a little too much. You might have noticed that I have cut my stamp into quarters to make it easier to use, it comes in a 12×12 sheet.
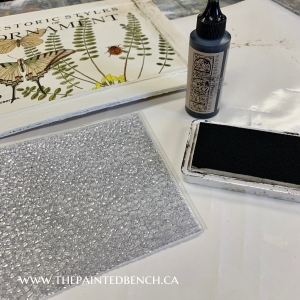
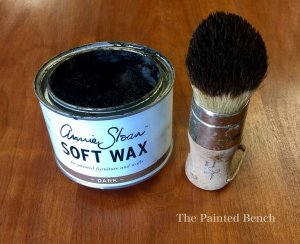
I followed that step up with Annie Sloan’s Clear Wax and a little Dark Wax for a lovely patina. I used the wax to soften the ink before it was dry because I felt it was too stark. I would normally wait a few hours at least before waxing over IOD Ink. Be gentle when you’re waxing or topcoating where you have inked to make sure it won’t smear. If it isn’t dry wait till the next day to continue.
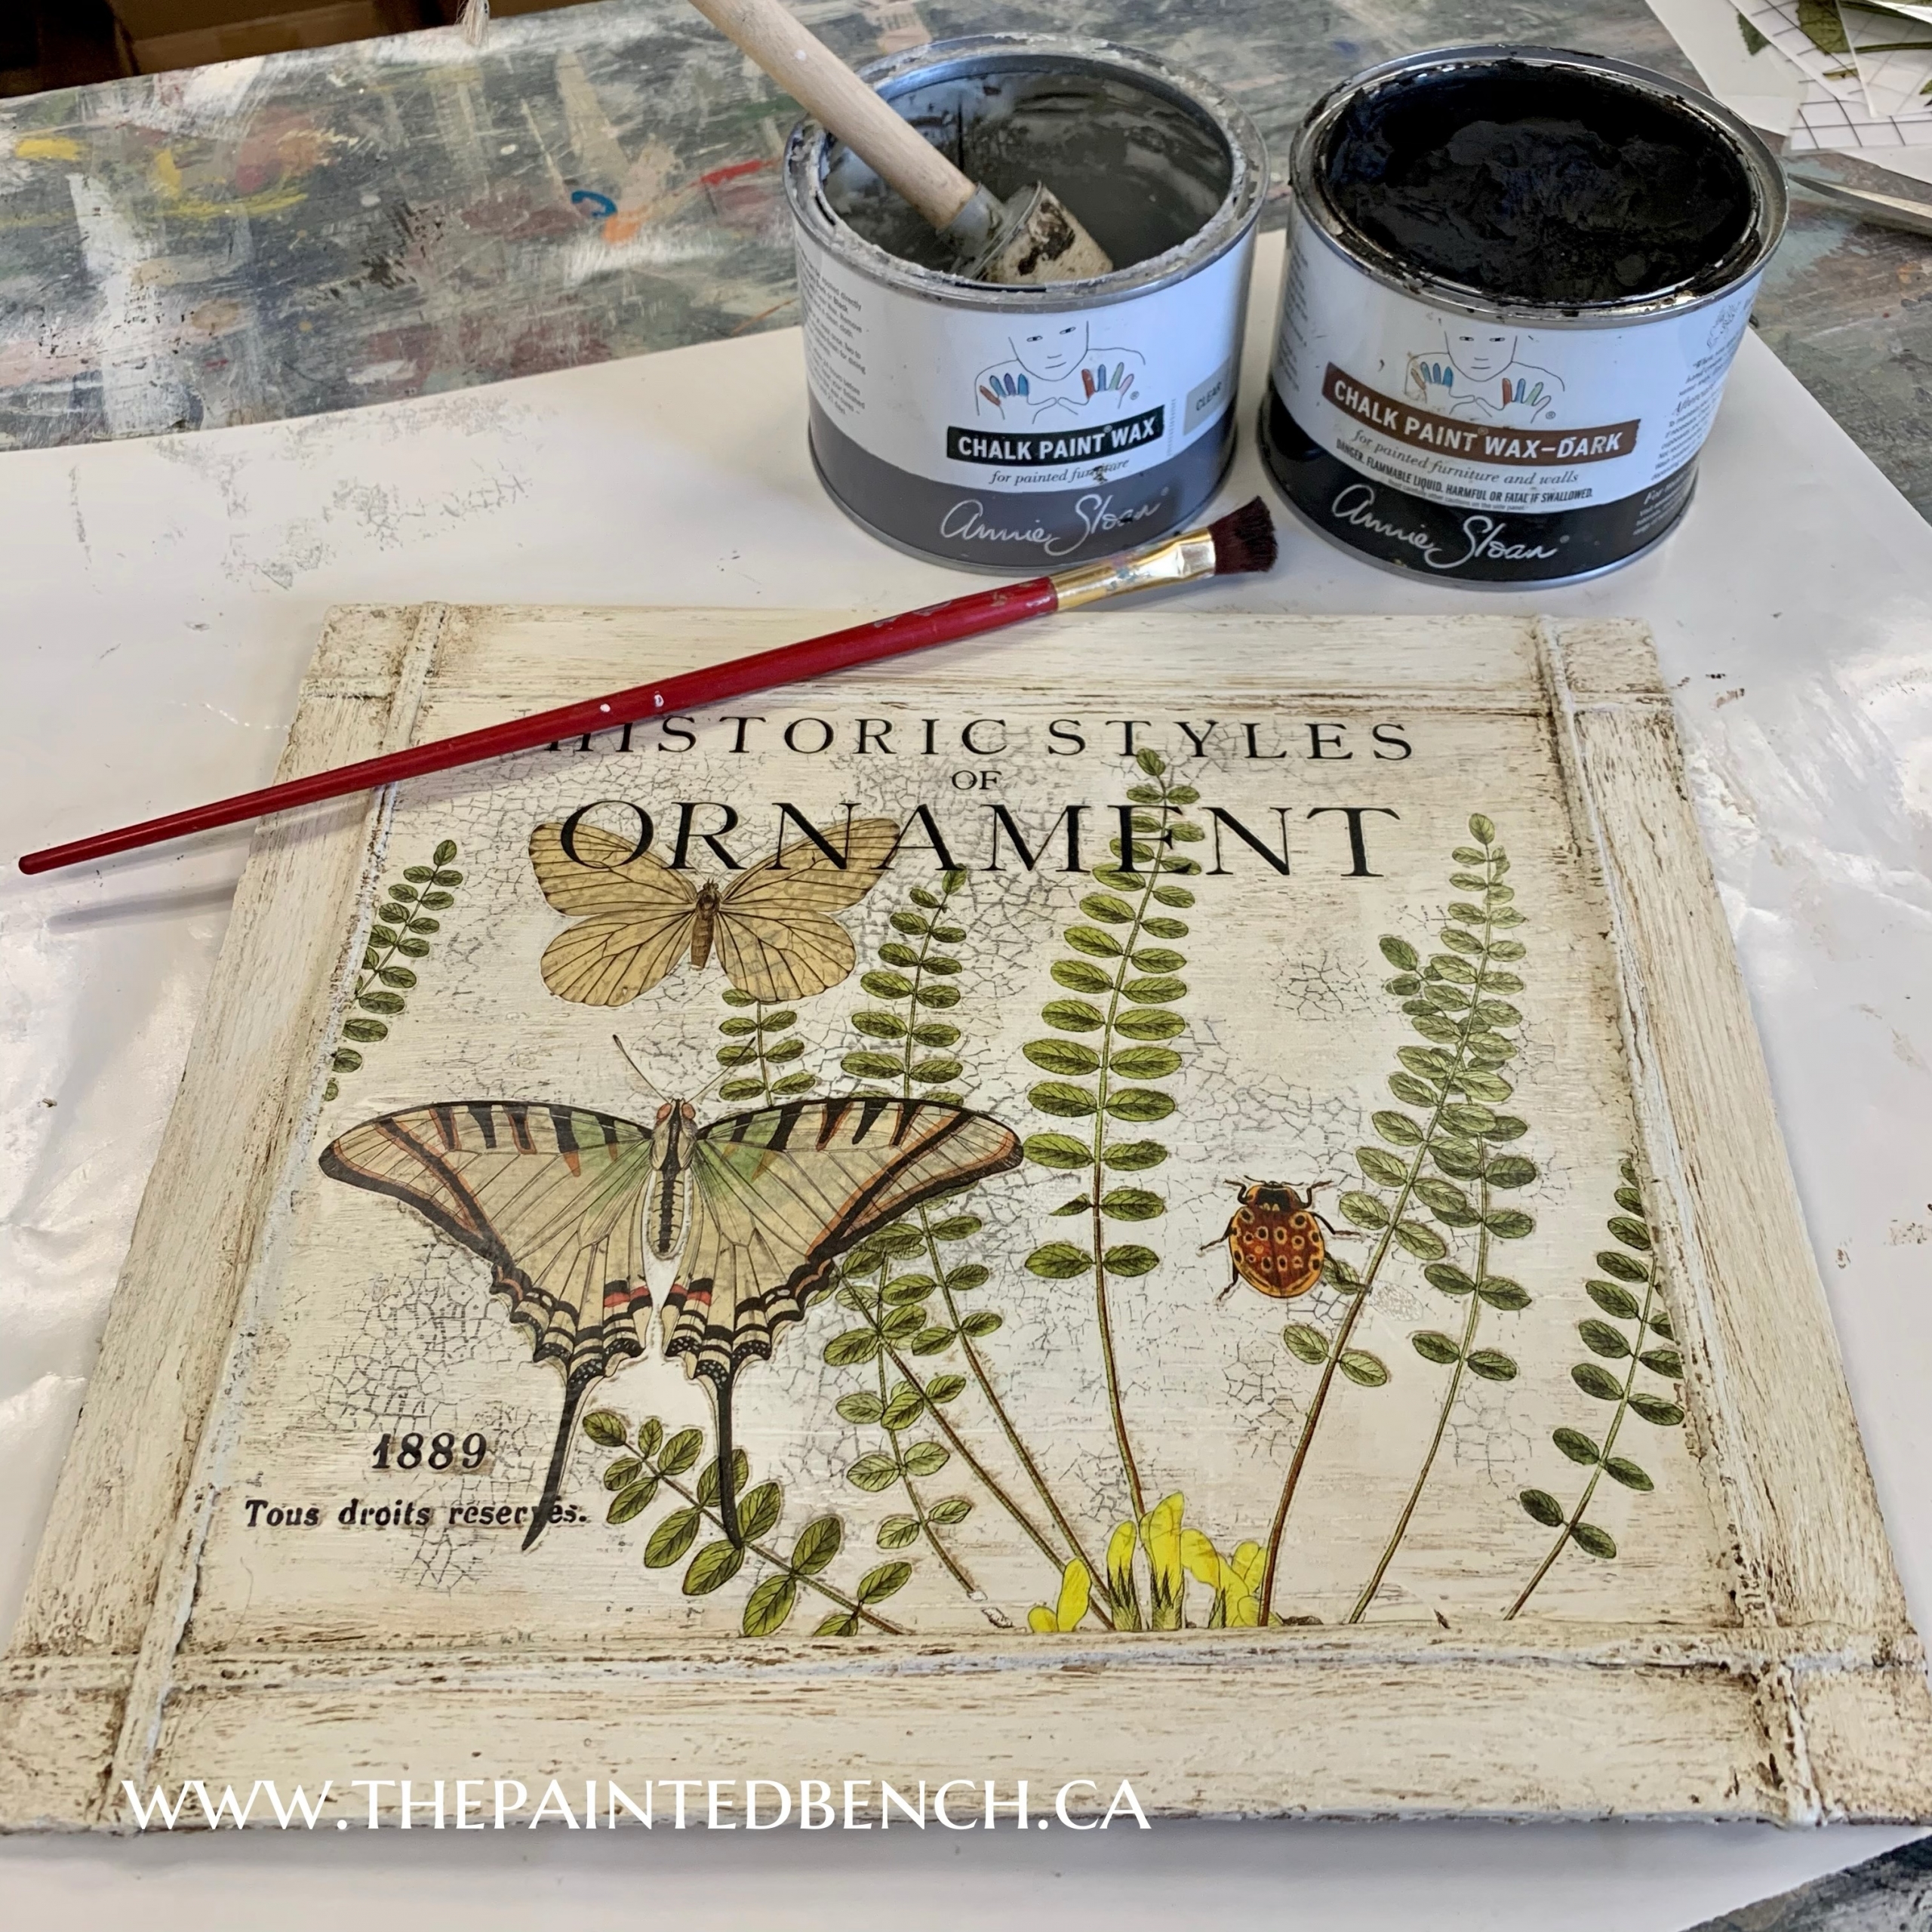
Tada! I love how this turned out!
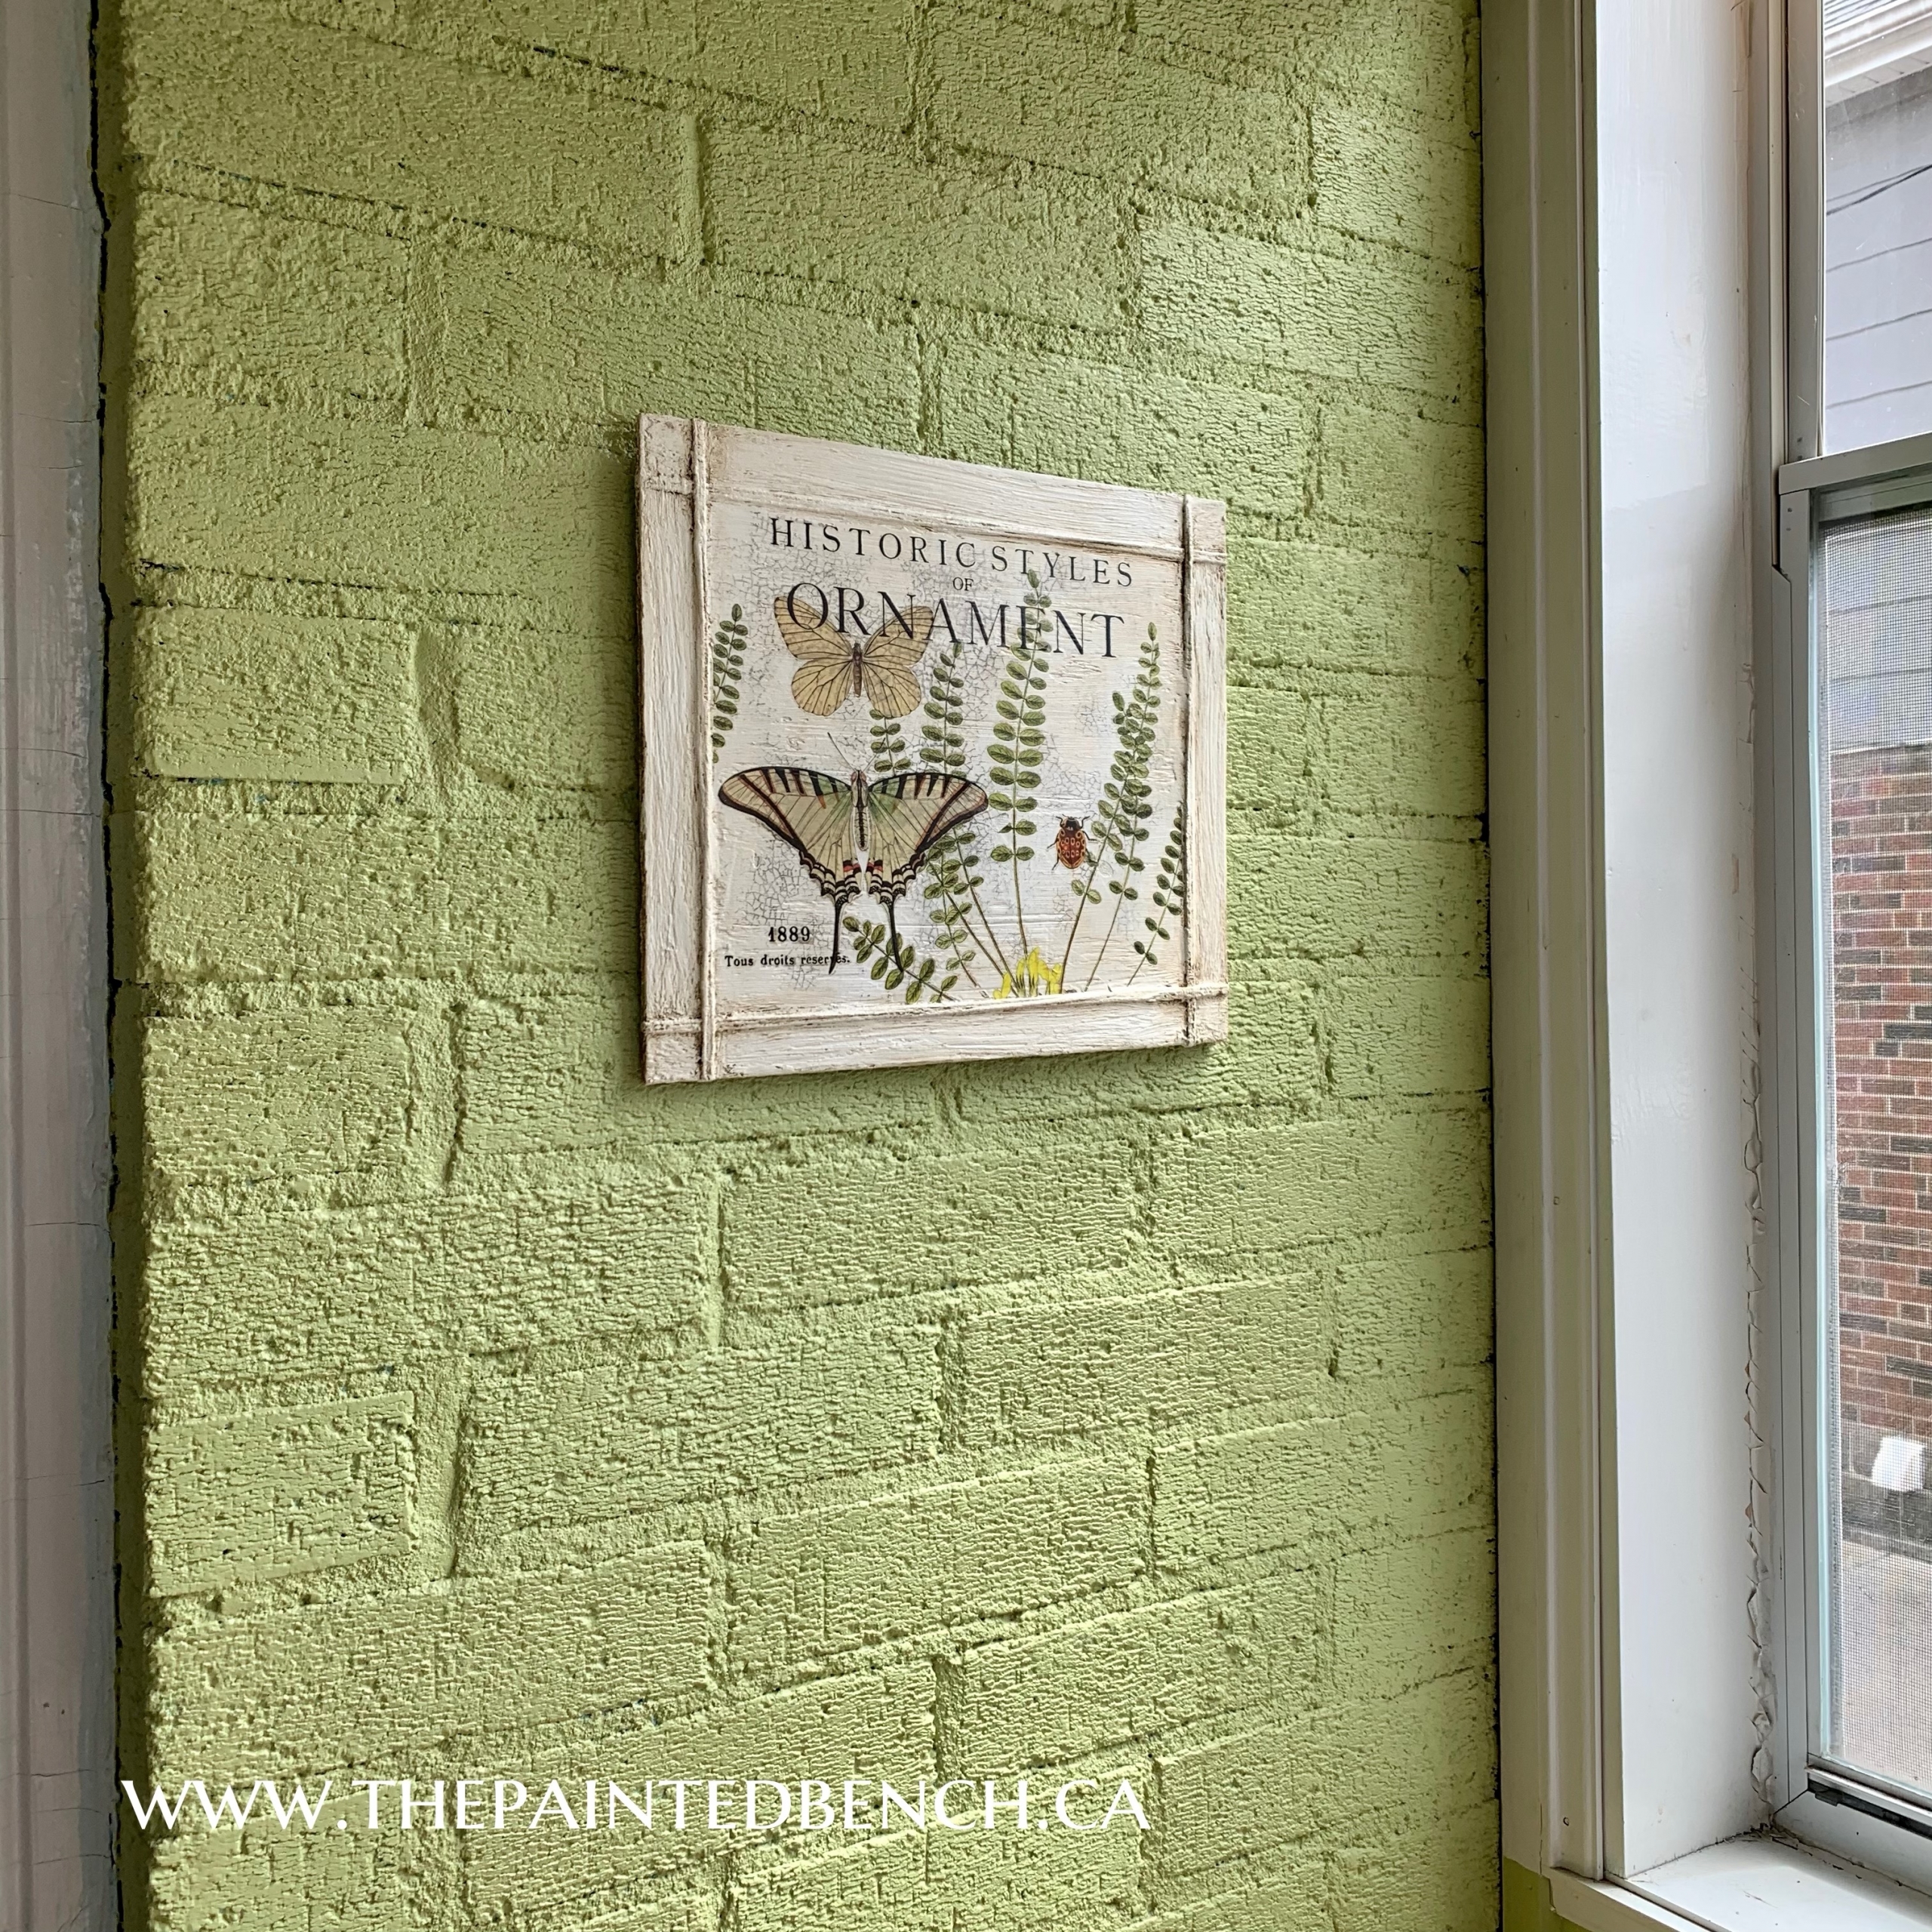
If it ever warms up enough to use our screened porch I will enjoy this little corner while I have my morning coffee!
All of the products used in this project are available in our online shop for curbside pickup or for shipping across Canada. Once we get things back to normal we’d love for you to stop by and visit our shop if you’re in the neighbourhood. We are looking forward to opening our doors to customers, hopefully very soon!
Happy Mother’s Day and thank you for taking the time to read this. I’ve got the next piece ready for transfers, I can’t wait to get it finished!
Happy painting everyone!
Melanie




 Register here
 Register here
 Register here
 Register here
